|
||||||||||
| logiudicecustomknives.com | ||||||||||
| Navigation | About Me | Available | Gallery | Handles | Knife Shop | Tutorials | Knife Making Links | Misc Links | Kit Knives | Contact Me |
|
TutorialMaking a Through-Tang Knife Handle - My WayIntroductionIn this tutorial I will illustrate the methods that I used to create and assemble a through-tang handle and butt cap on a knife. A though-tang knife is one in which the handle extends the entire internal length of the handle. The tang is fastened to the handle by means of a cap located at the butt of the knife. The cap in this example is threaded. There are undoubtedly countless ways to do this. The steps taken in these instructions are simply the way that I chose to do this. Many knife makers fully fit and finish their components before final glue-up. I have found that assembling the items in a roughly finished state works best for me. In the case of a take-down handle (one which is designed for dis-assembly and re-assembly), I would choose to finish the individual components to within 95% of final shape before assembling and final shaping. Basic Knife and Handle DesignBladeThe following illustrations show the basic design of this knife and the through tang handle. I profile my blades, grind the flats, and hand sand the blades to their desired grit finish before they are sent to heat treat since I use air hardening steels (this blade is CPM S30V) which produce little scale during heat treat if done properly. The blade in the photos is already hardened. The tang is slightly tapered to allow the slotted guard to fit tightly onto the tang. Additionally, I created the notch in the tang for soldering of the threaded rod after heat treat to avoid stress risers during heat treat. This required carbide burrs and a rotary tool. GuardI make all of my guards from raw bar stock or from pre-slotted pieces purchased from knife supply houses. I prefer to use 3/8" thick bar for guards, as this gives a more substancial feel and appearance to the guard area. I use a 3/4" small wheel on my KMG grinder to form the finger curve(s) in my guards. The most unpleasant part of making knives (for me) is slotting and fitting guards. Even pre-slotted guards require very careful and meticulous drilling and filing to get the slot to properly fit the tang. I find that dial calipers and a hardened file guide are indespensible for guard fitting. The double guard for this particular knife was made from 18% nickel silver bar stock. I shape my guards to desired shape before my blades are sent to heat treat. This enables me to simultaineously drill a hole through the guard and blade tang for future installation of a pin. I use a centerdrill tool in a drill press to slightly countersink the holes on the external surfaces of the guard. When peening, the swollen head of the pin fills this countersink and ensures that the pin will never come loose. After peening the guard pin, the guard is silver soldered to the blade. The following photo shows the installed, pinned, and soldered guard. The slot in end of the tang can also be seen.
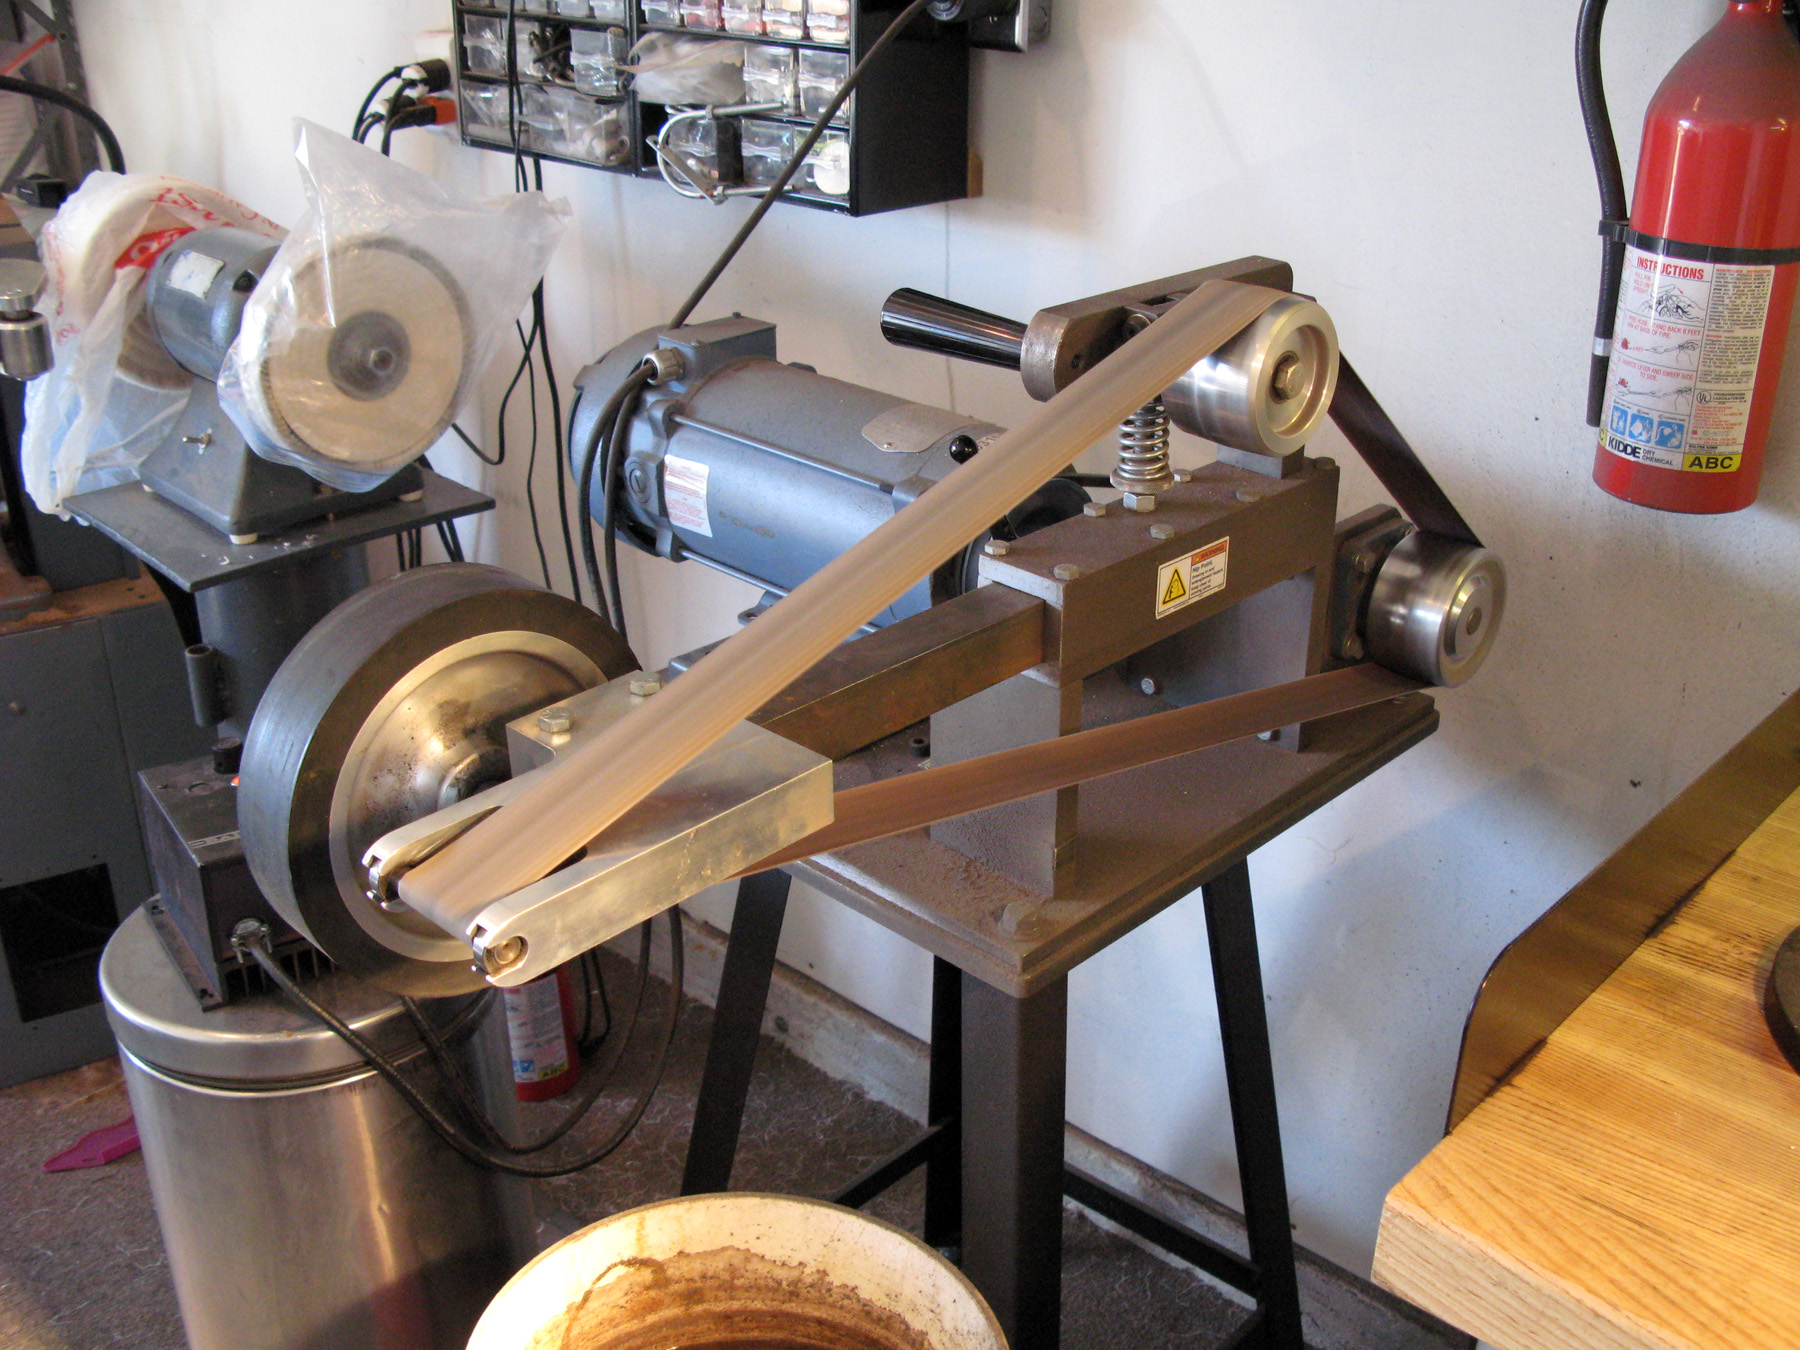
Here's a photo of the KMG grinder with the 3/4" small wheel installed.
Guard SpacersFor this knife, I chose to use guard spacers to add a little finishing detail. I used 0.032" thick pieces of black vulcanized fiber and nickel silver for spacers. I have since quit using vulcanized fiber in leu of G10, which is more stable and will not swell or shrink with age or moisture effects. The roughly shaped and slotted spacers are shown dry fitted against the guard in the following photo.
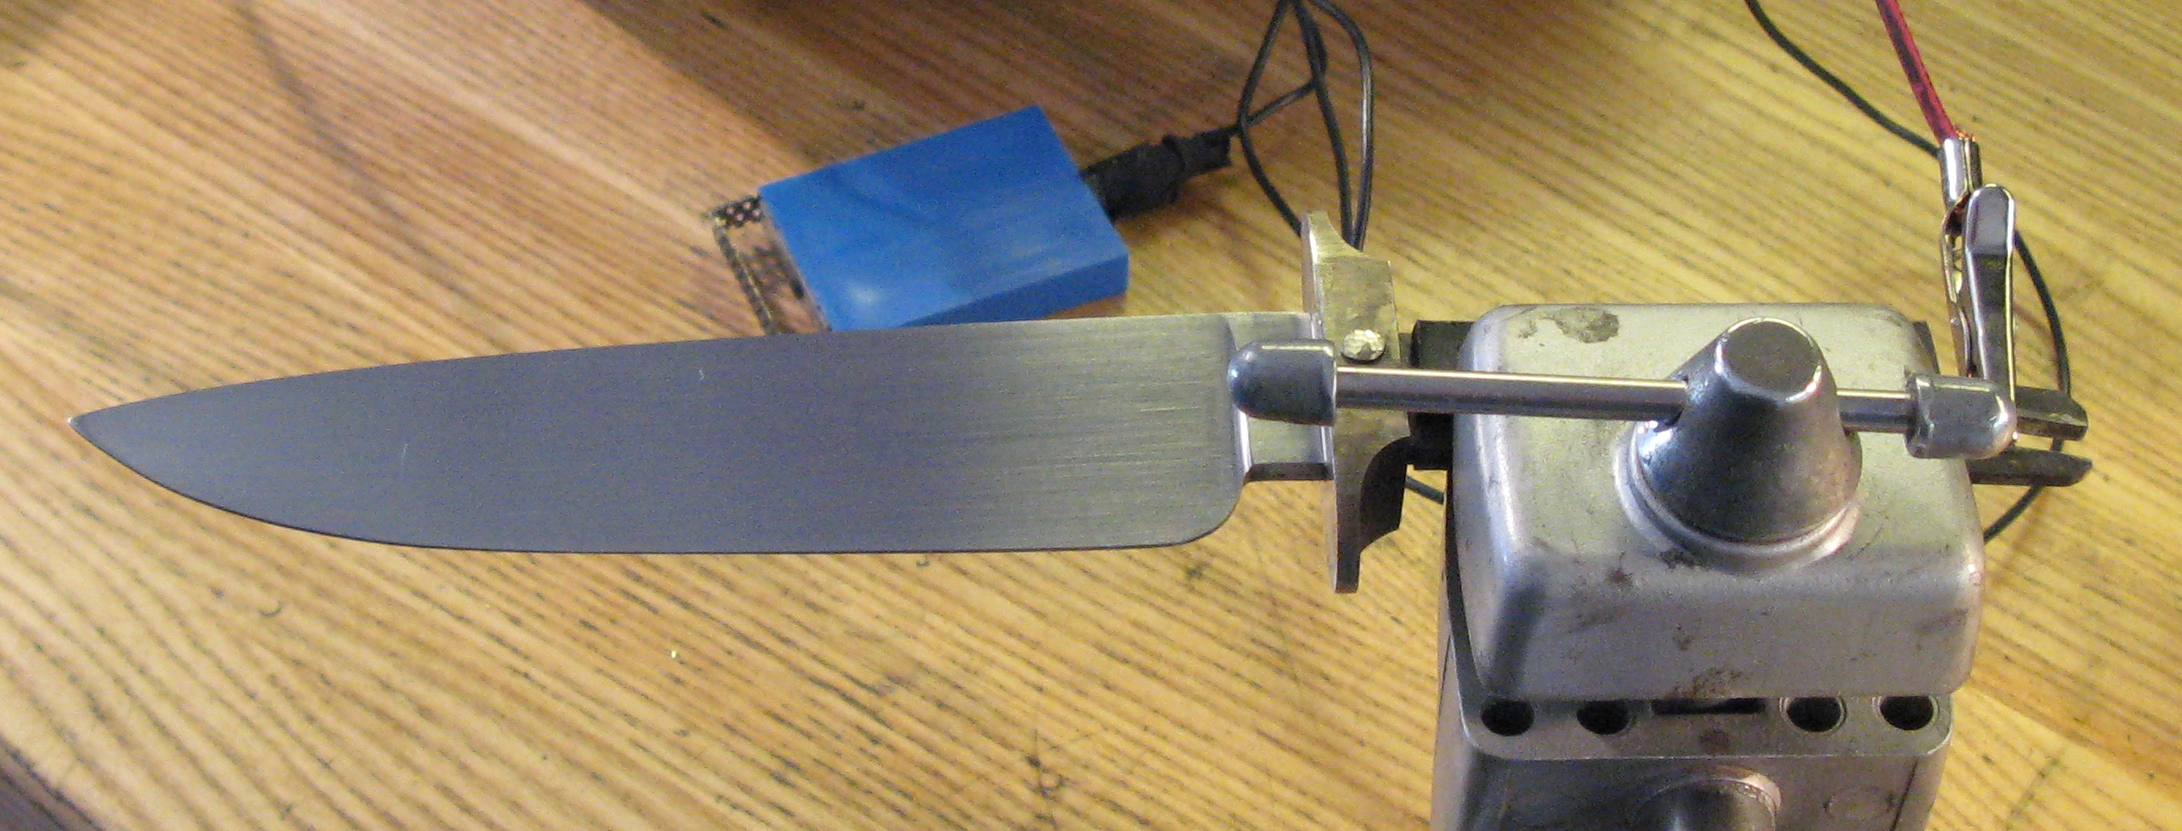
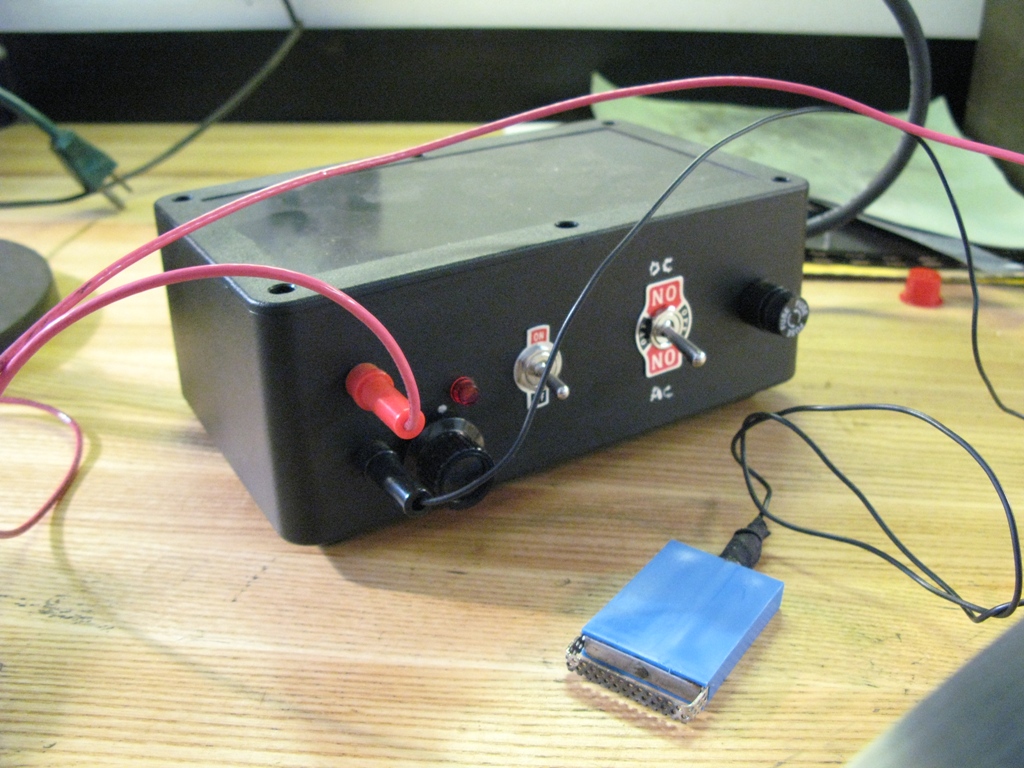
Maker's MarkI assembled an electro-etcher from instructions provided on a web site by Chris Crawford. His instructions were based on a set from Bob Warner. I found the instructions difficult to understand, so I created an electical schematic and instruction set of my own . . . which I believe have been heavily referred to on various knifemaking discussion boards. A link to these instructions is HERE. A photo of the etcher is below.
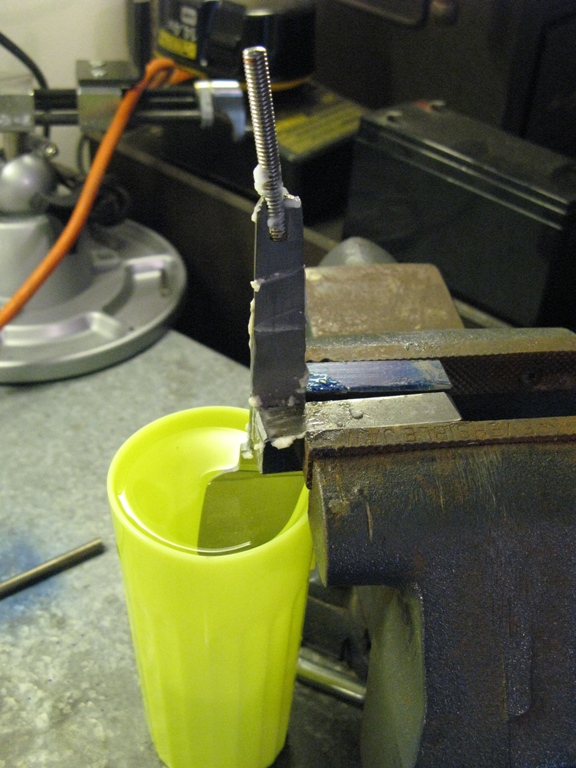
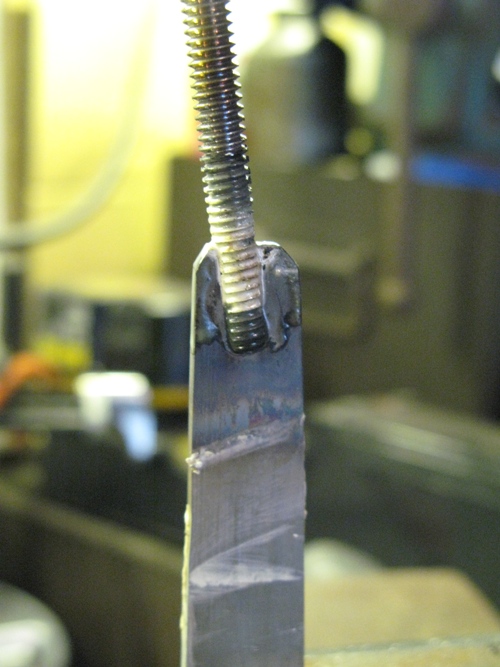
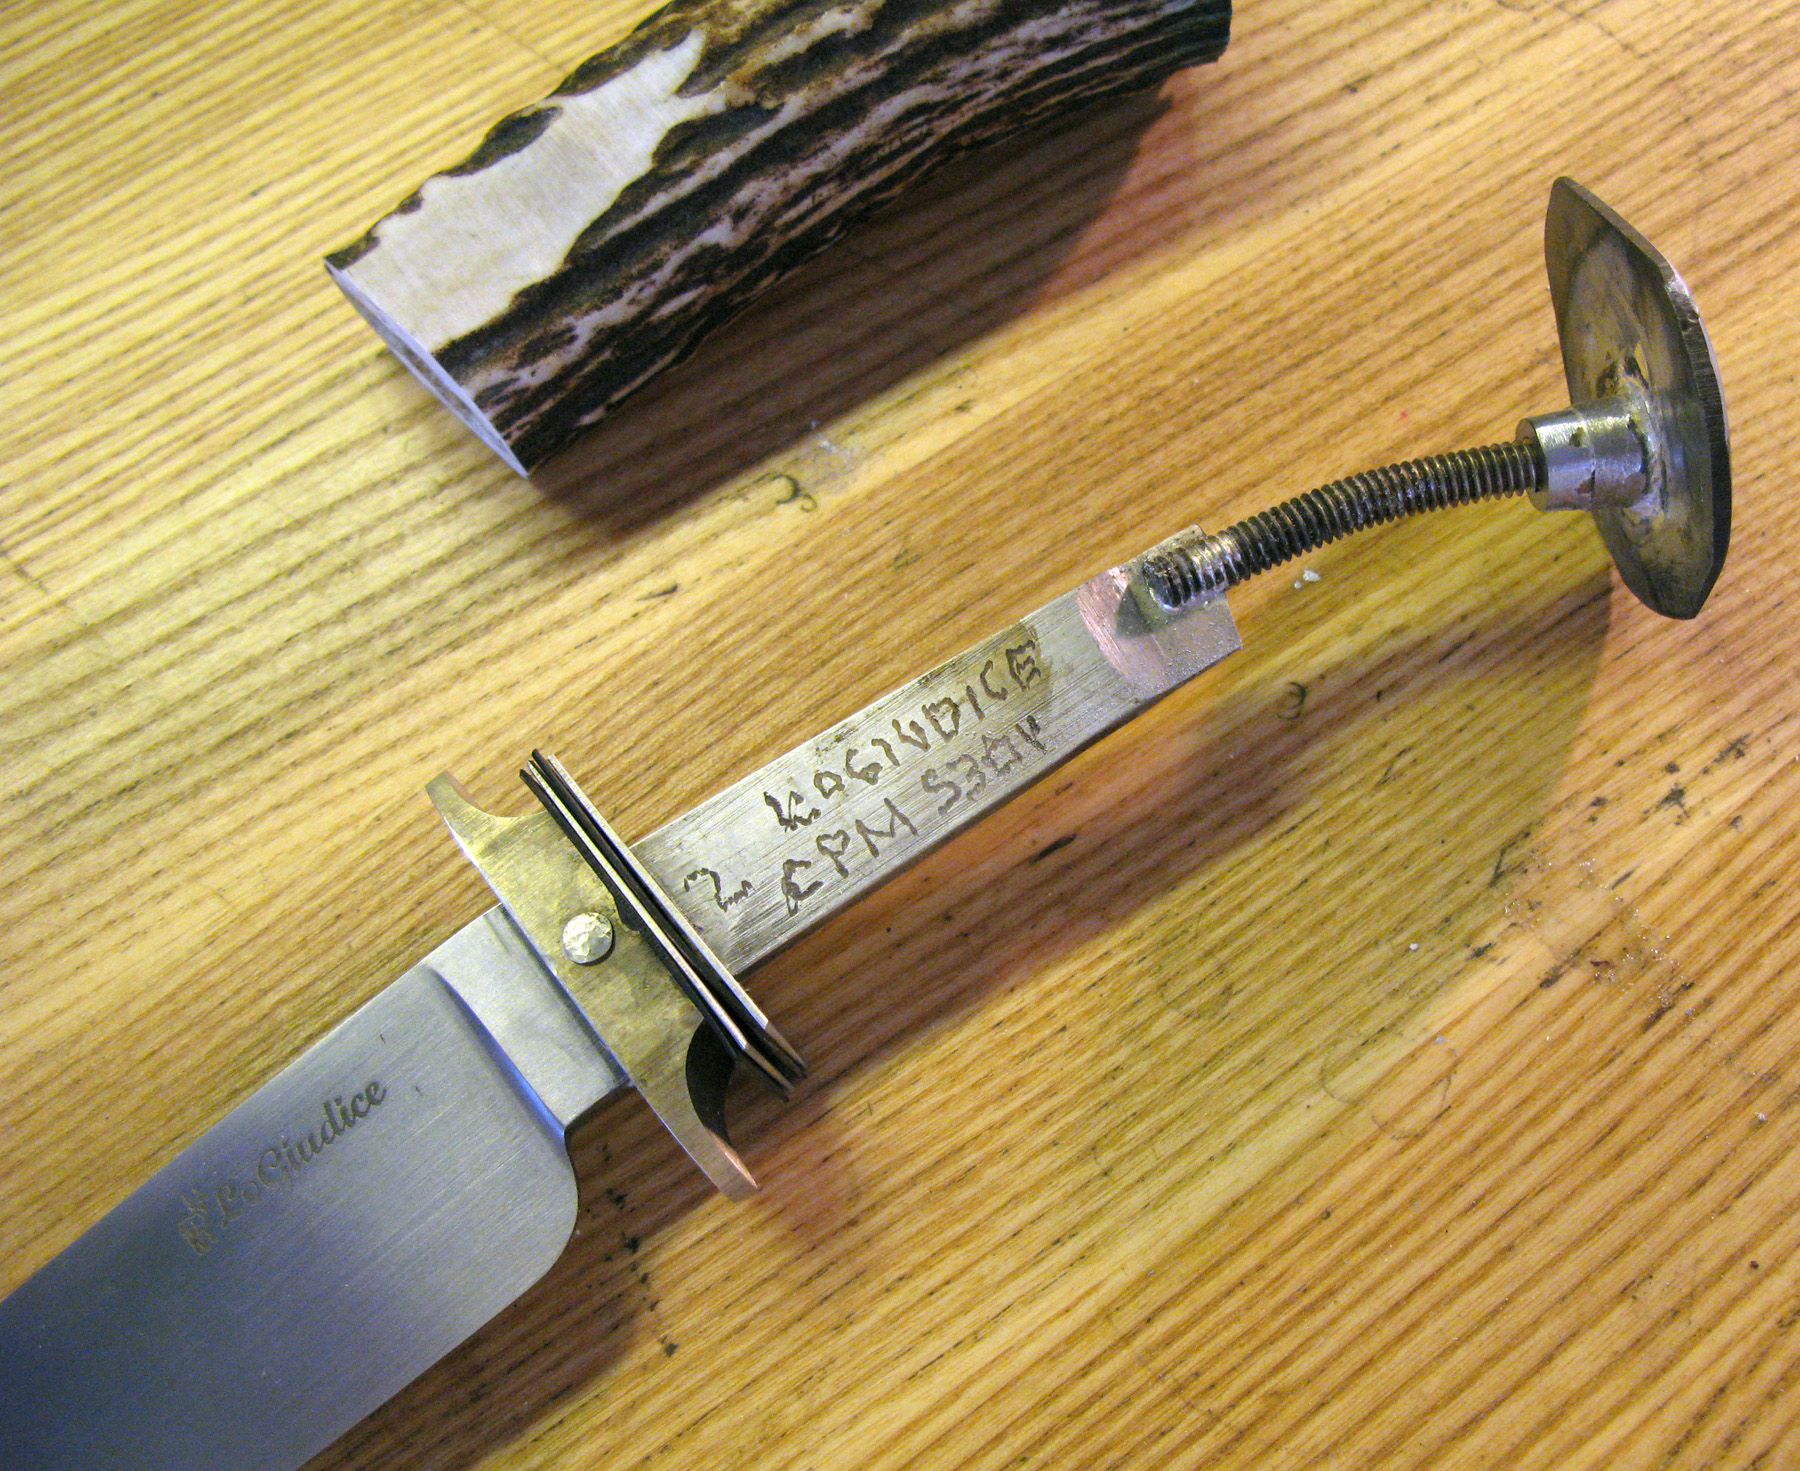
Brazing of Threaded Rod to TangI was unsure if a low temperature solder would be strong enough to hold the tension exerted on a piece of all-thread within the assembled handle; therefore, I chose to braze the threaded rod to the tang. Harris brand "Safety-Silv 56 was chosen as the brazing material. This is a high silver content braze and is suitable for joining stainless steels. Since Safety-Silv 56 requires about 1200 degree F. to flow, I submersed the blade of the knife in water while brazing the 1/4"-20 piece of all-thread to the tang. This was done to prevent damage to the heat treat of the blade portion of the S30V steel. The photograph below shows the immersed blade, 1/4"-20 all-thread, and fluxed solder joint. Some heat block paste was also used on the portion of the tang near the blade. Please note that the photograph was staged for illustration purposes. The guard and spacers should be installed before brazing the threaded rod. This is not the case, below.
A silver soldered, un-cleaned joint:
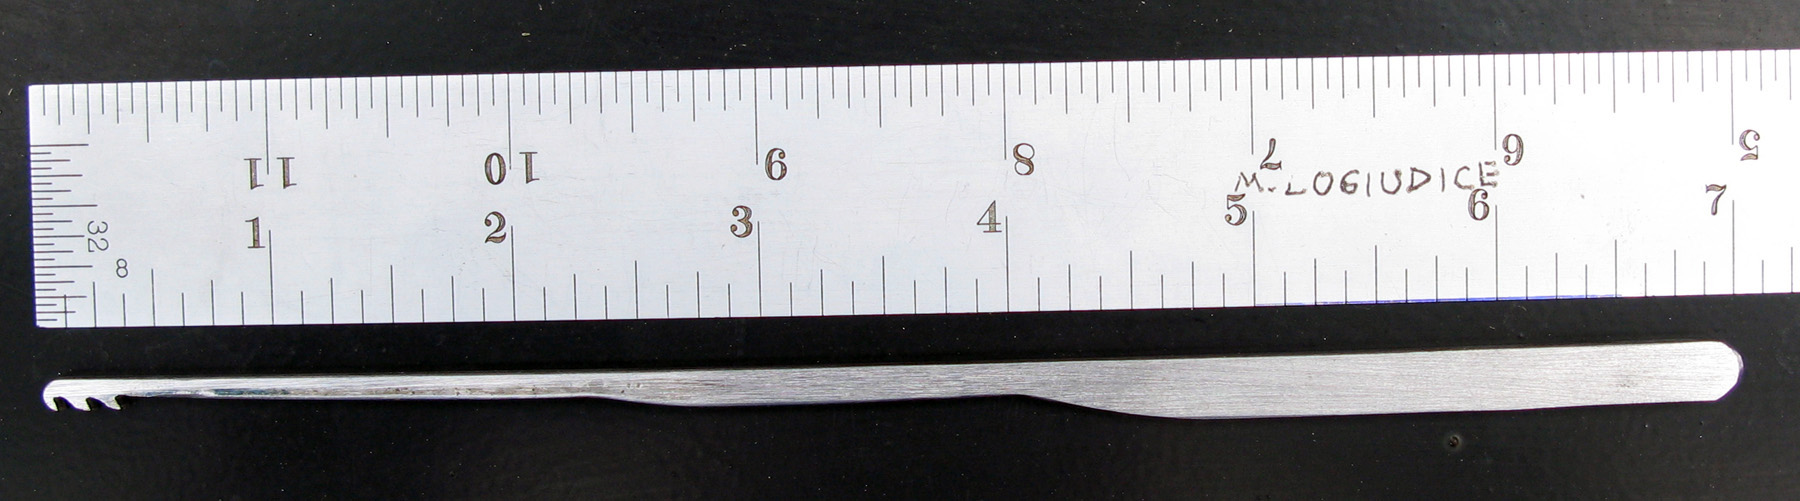
Handle BroachA broach is a necessary tool for making a through tang handl. I did not have a broach, did not know where or how to purchase one, and so I did a little research and made one. After researching tooth design for broaches, I used CAD software to lay out a broach which I felt would work effectively for hollowing a knife handle. I purchased a 1/8" x 1/4" piece of O1 tool steel form MSC Industrial Supply and formed the broach using my KMG grinder and hand files. I then sent it to Mr. Lee Oates in Texas for heat treating. He did this for a minimal fee. The following photographs show the finished broach before heat treating. A scale is shown next to the broach for size reference.
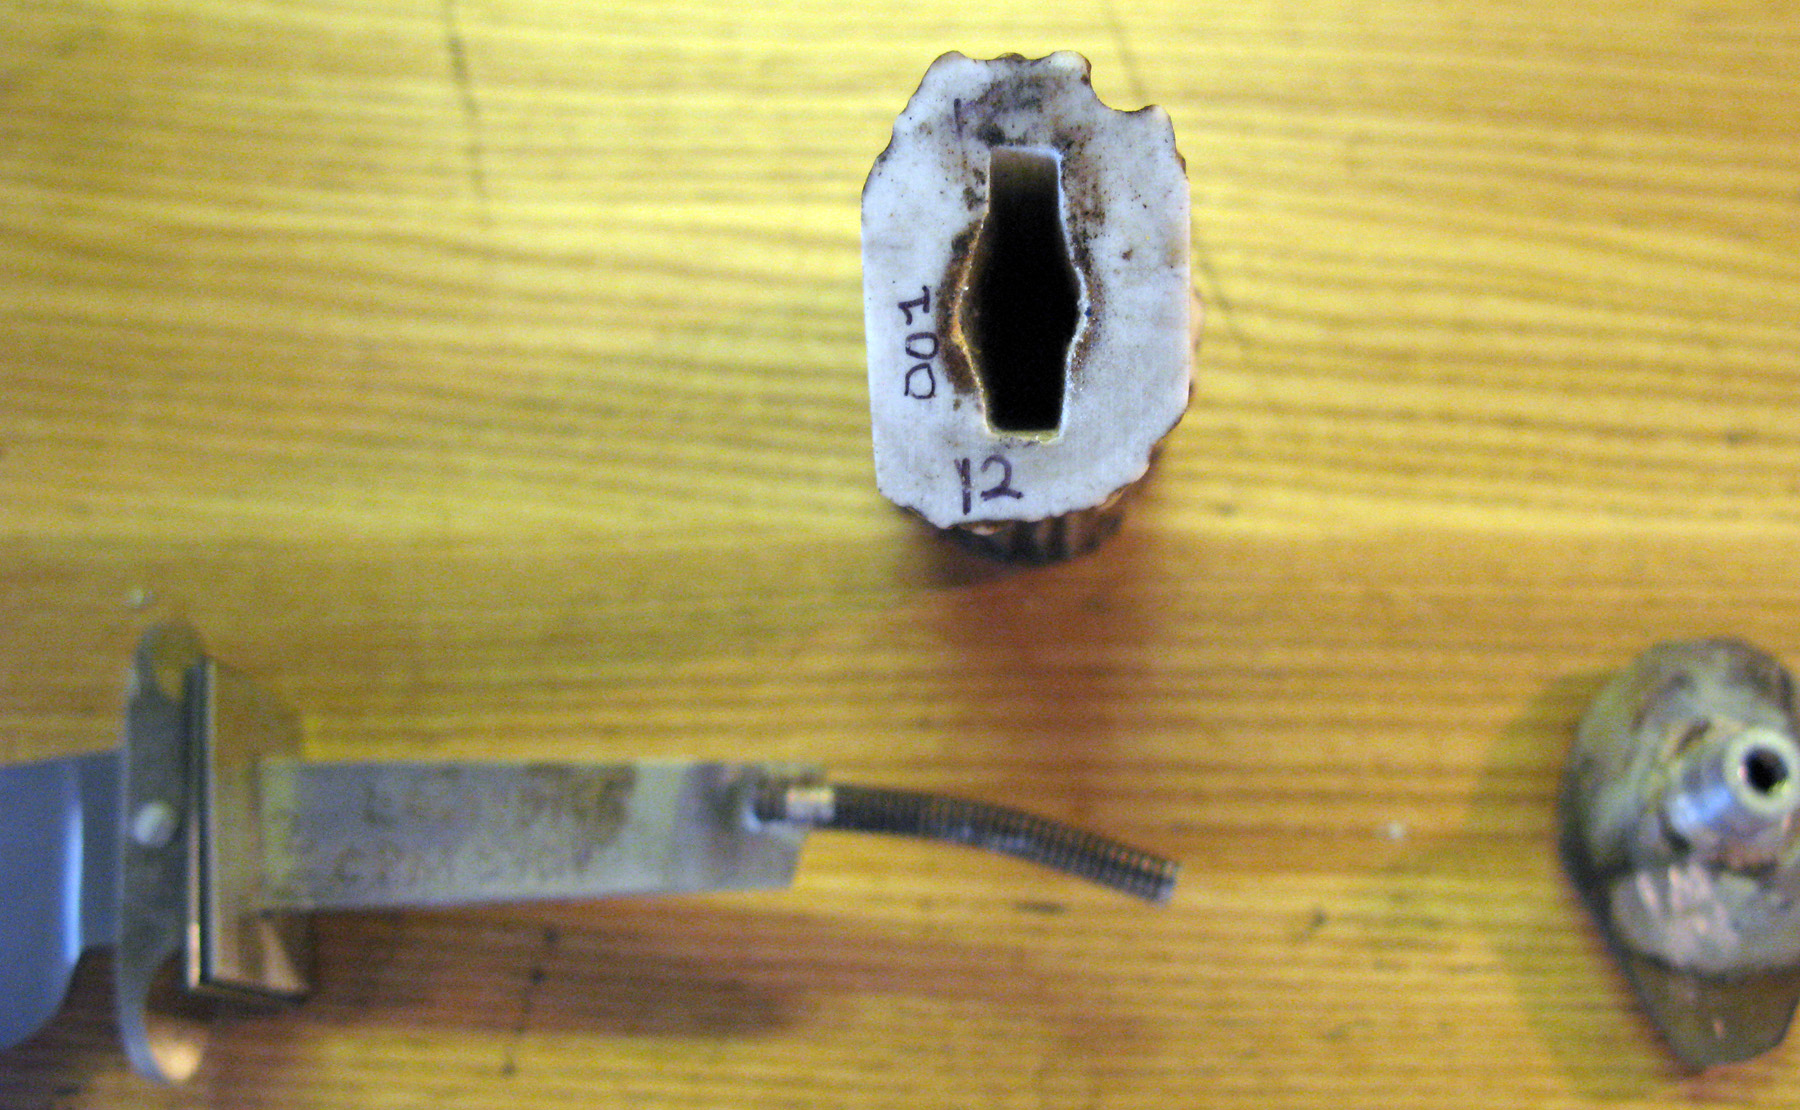
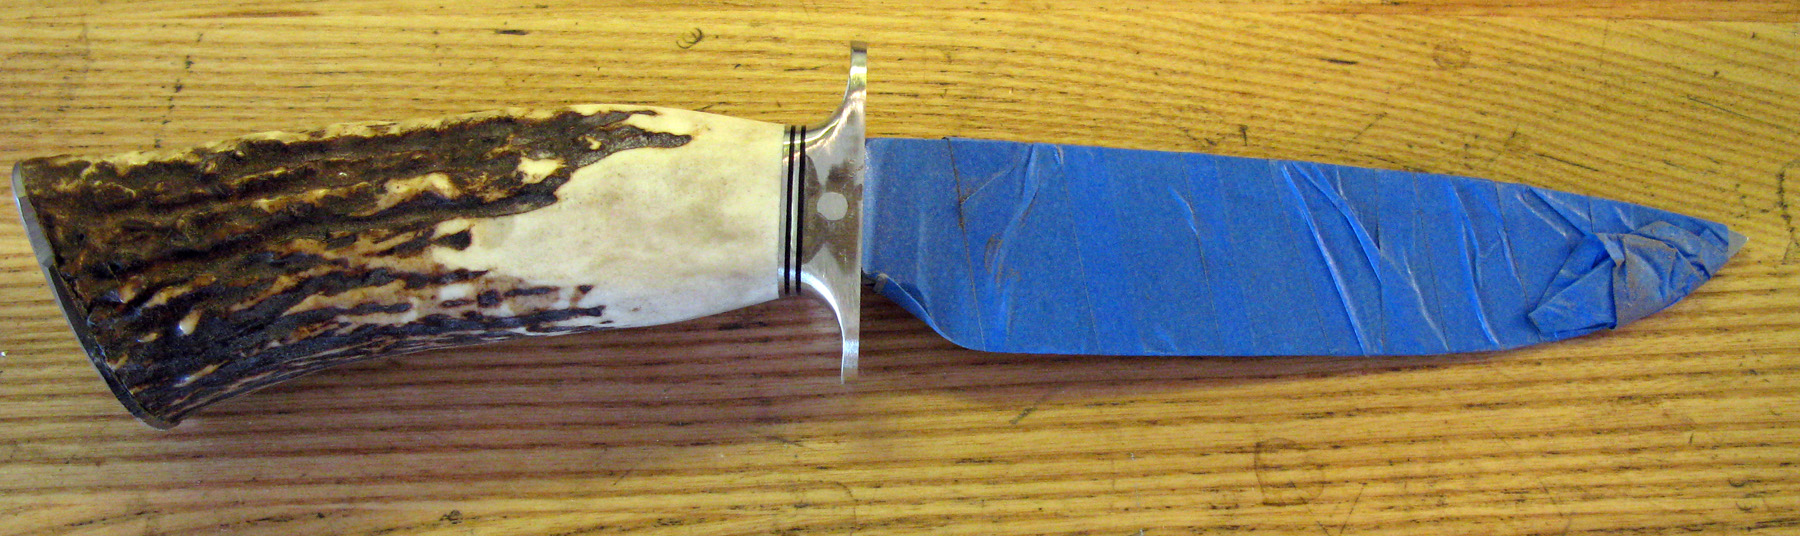
Broaching of Through Hole in HandleHoles were carefully drilled in each end of the sambar stag handle and then the broach was used to futher remove material. Enough volume should be removed from the handle to allow sufficient fill of epoxy, yet the handle should not freely rotate into any orientation. - The 1/4"-20 all-thread was bent to make it protrude perpendicular to the end face of the stag handle.
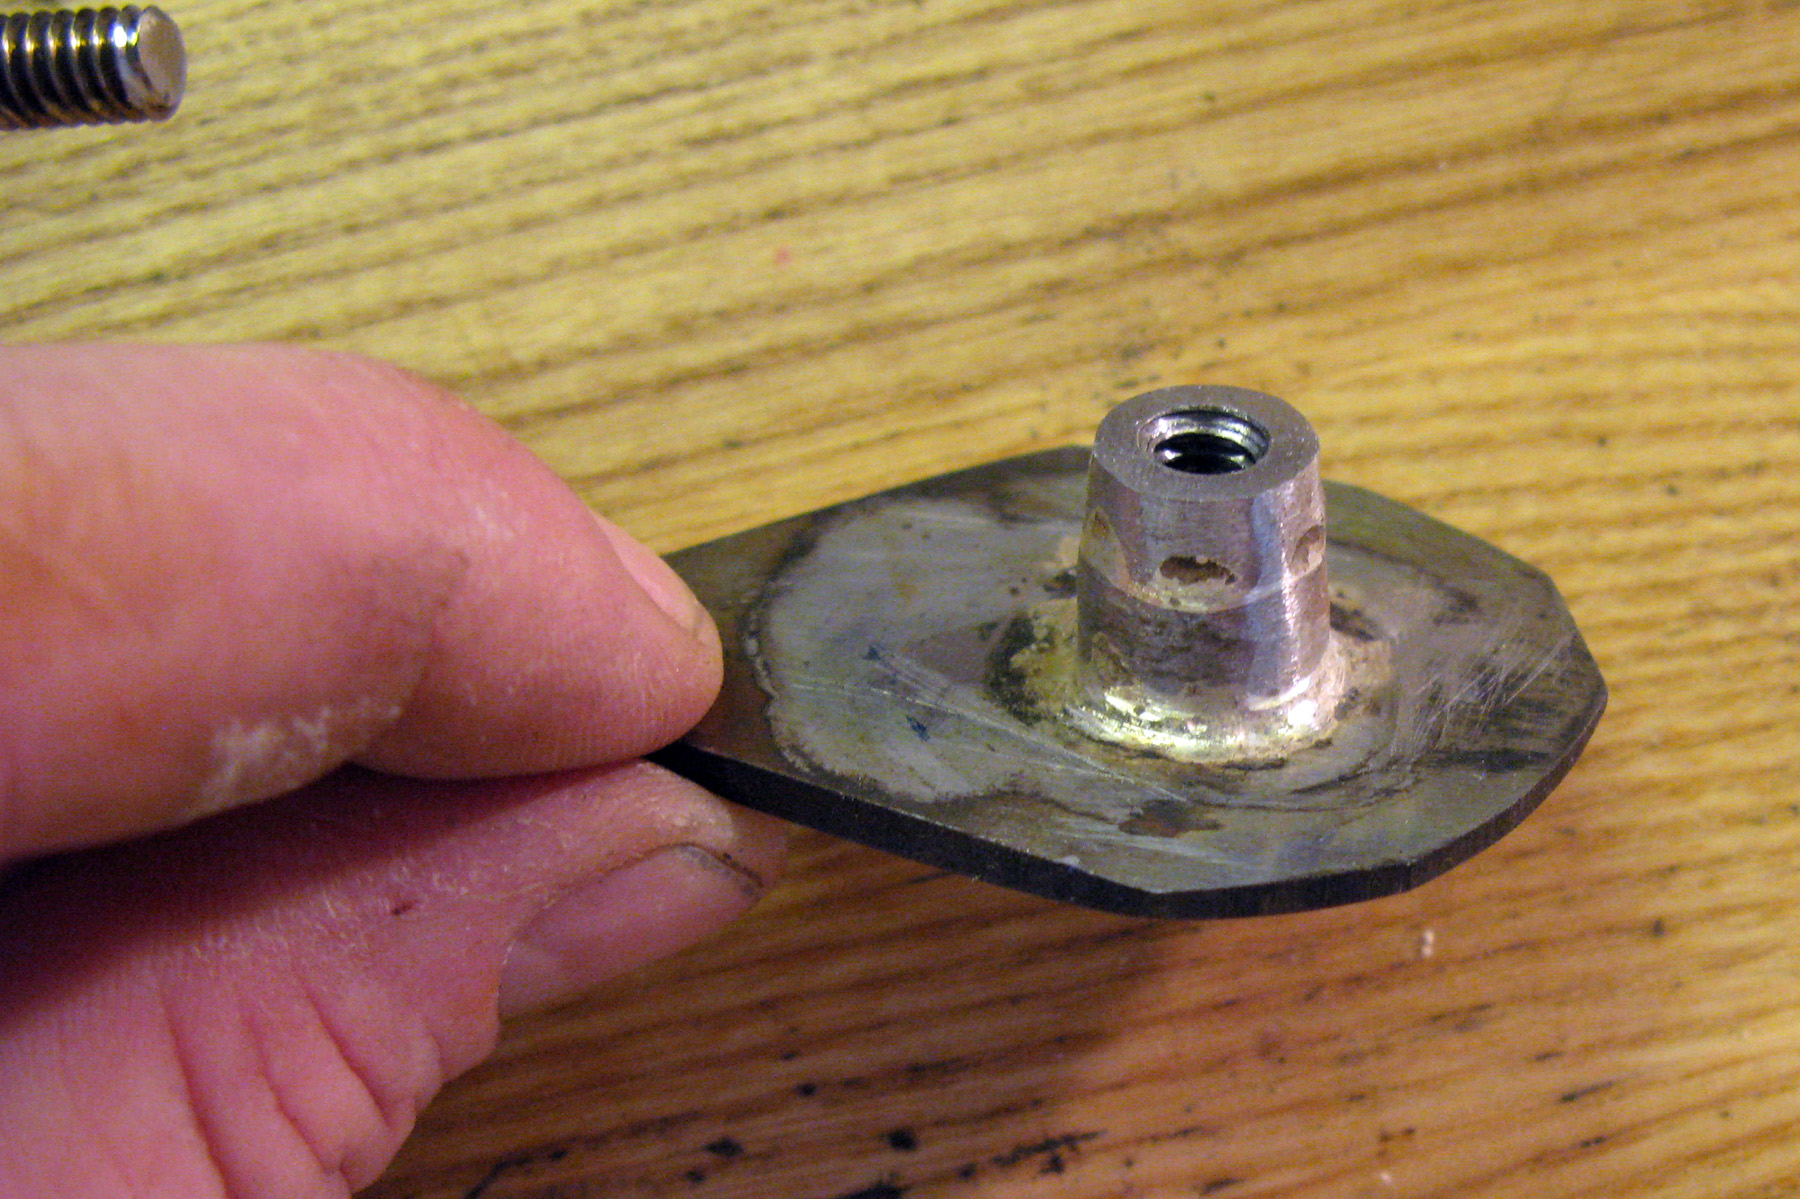
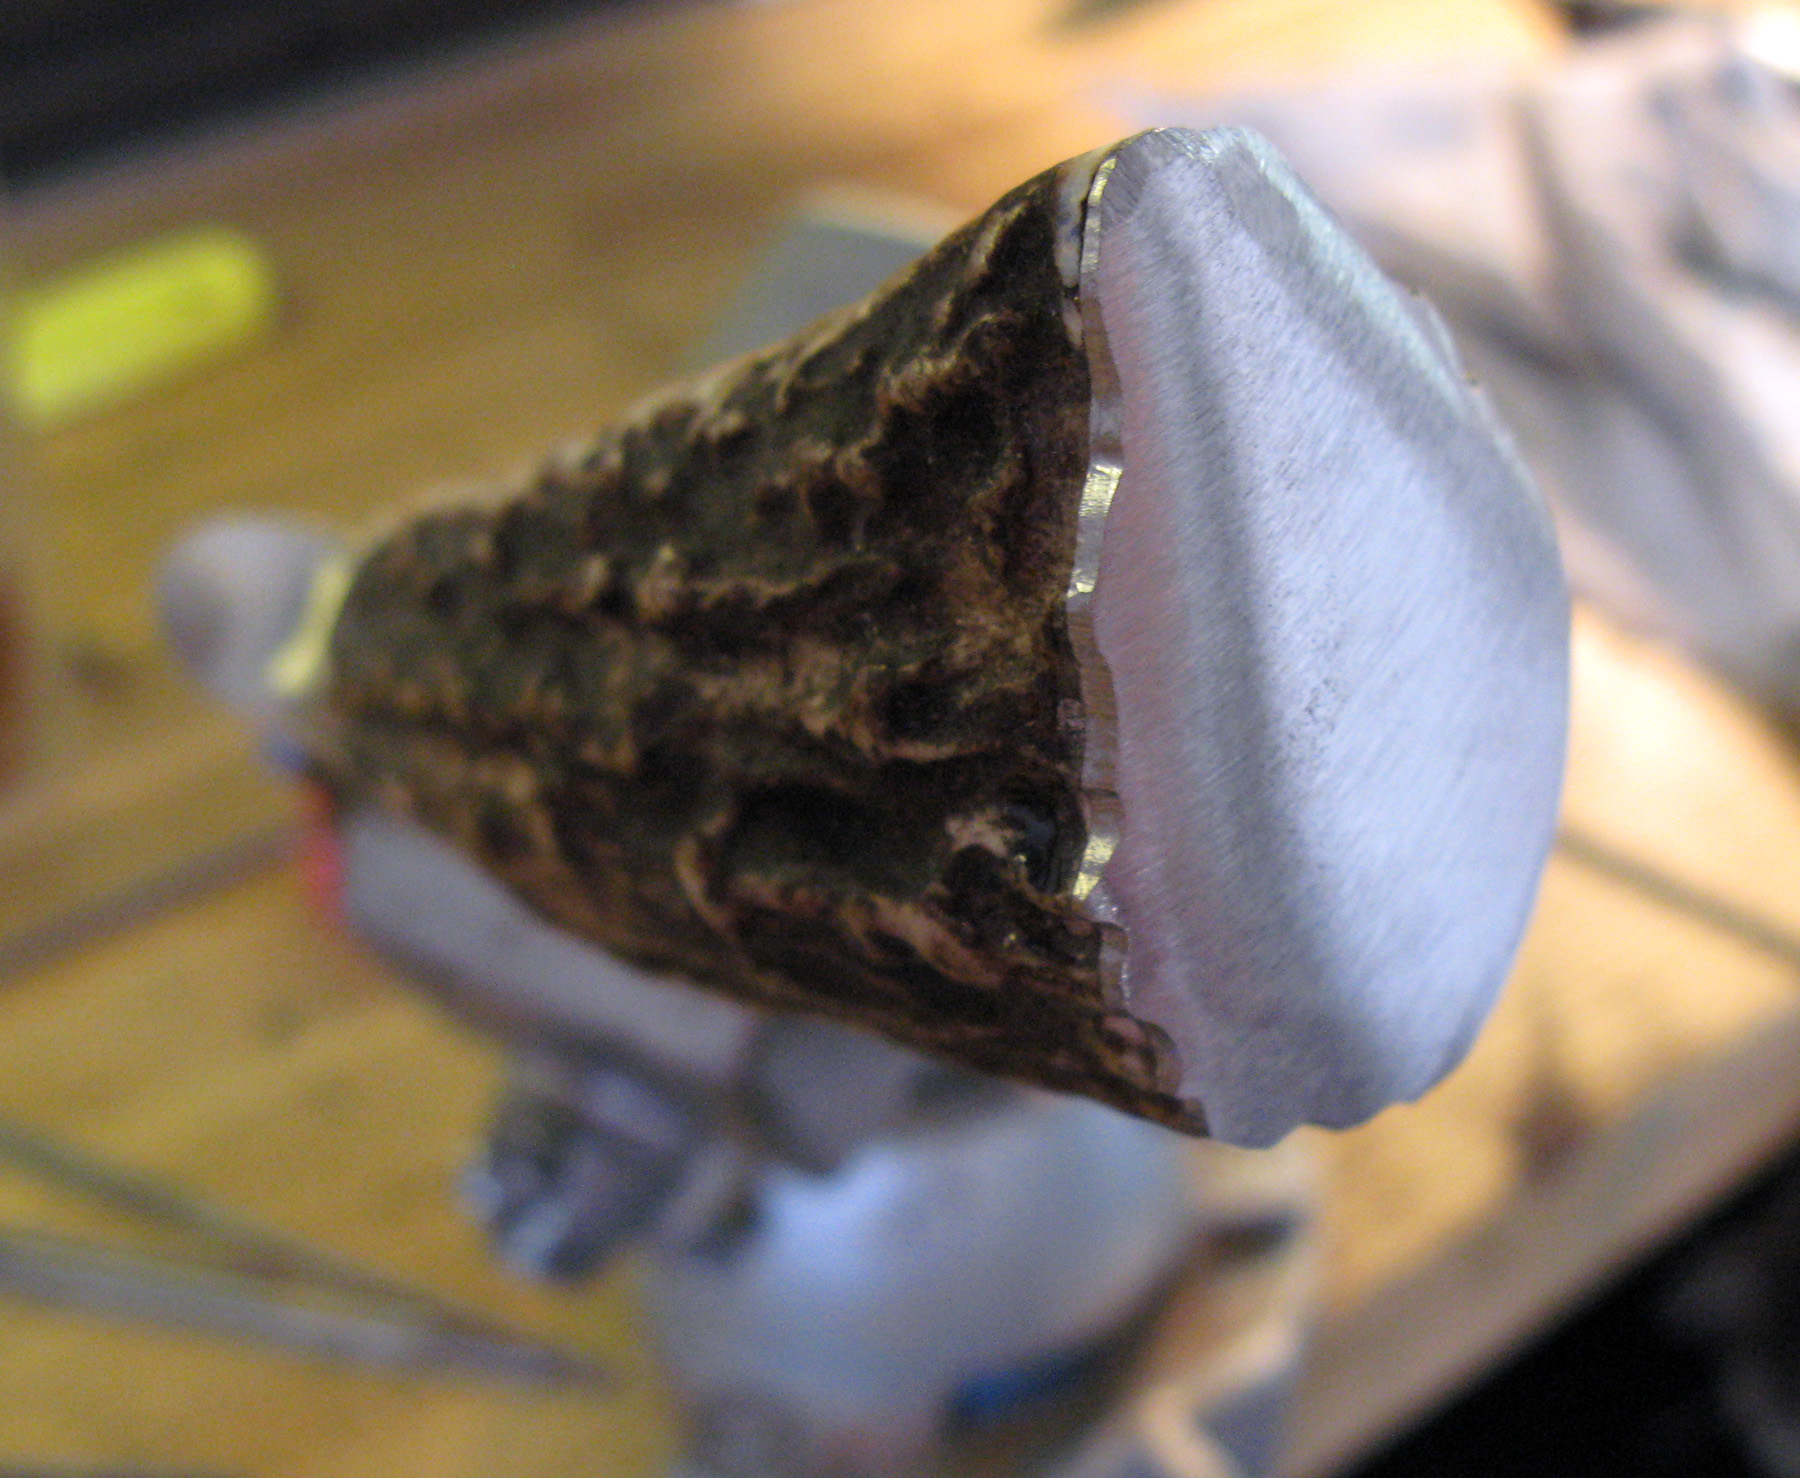
Fabrication of Pommel (Butt Cap)A piece of 416 stainless steel was used for the butt-cap. Two nuts were stacked and brazed onto the butt-cap before it was roughed-in any where near its final shape. The threads in the nut closest to the butt cap were drilled out to allow clearance and make-up room for the end of the all-thread. The rough shape of the butt cap was done after determining how it would interface with the end of the stag handle. Careful fitting was done by bending the all-thread and/or re-facing the end of the handle to ensure that final make-up would be square and without gaps. The all-thread can be coerced to bend in a desired spot if heated with a MAPP gas torch. The photographs below show the brazed butt cap and the broached handle.
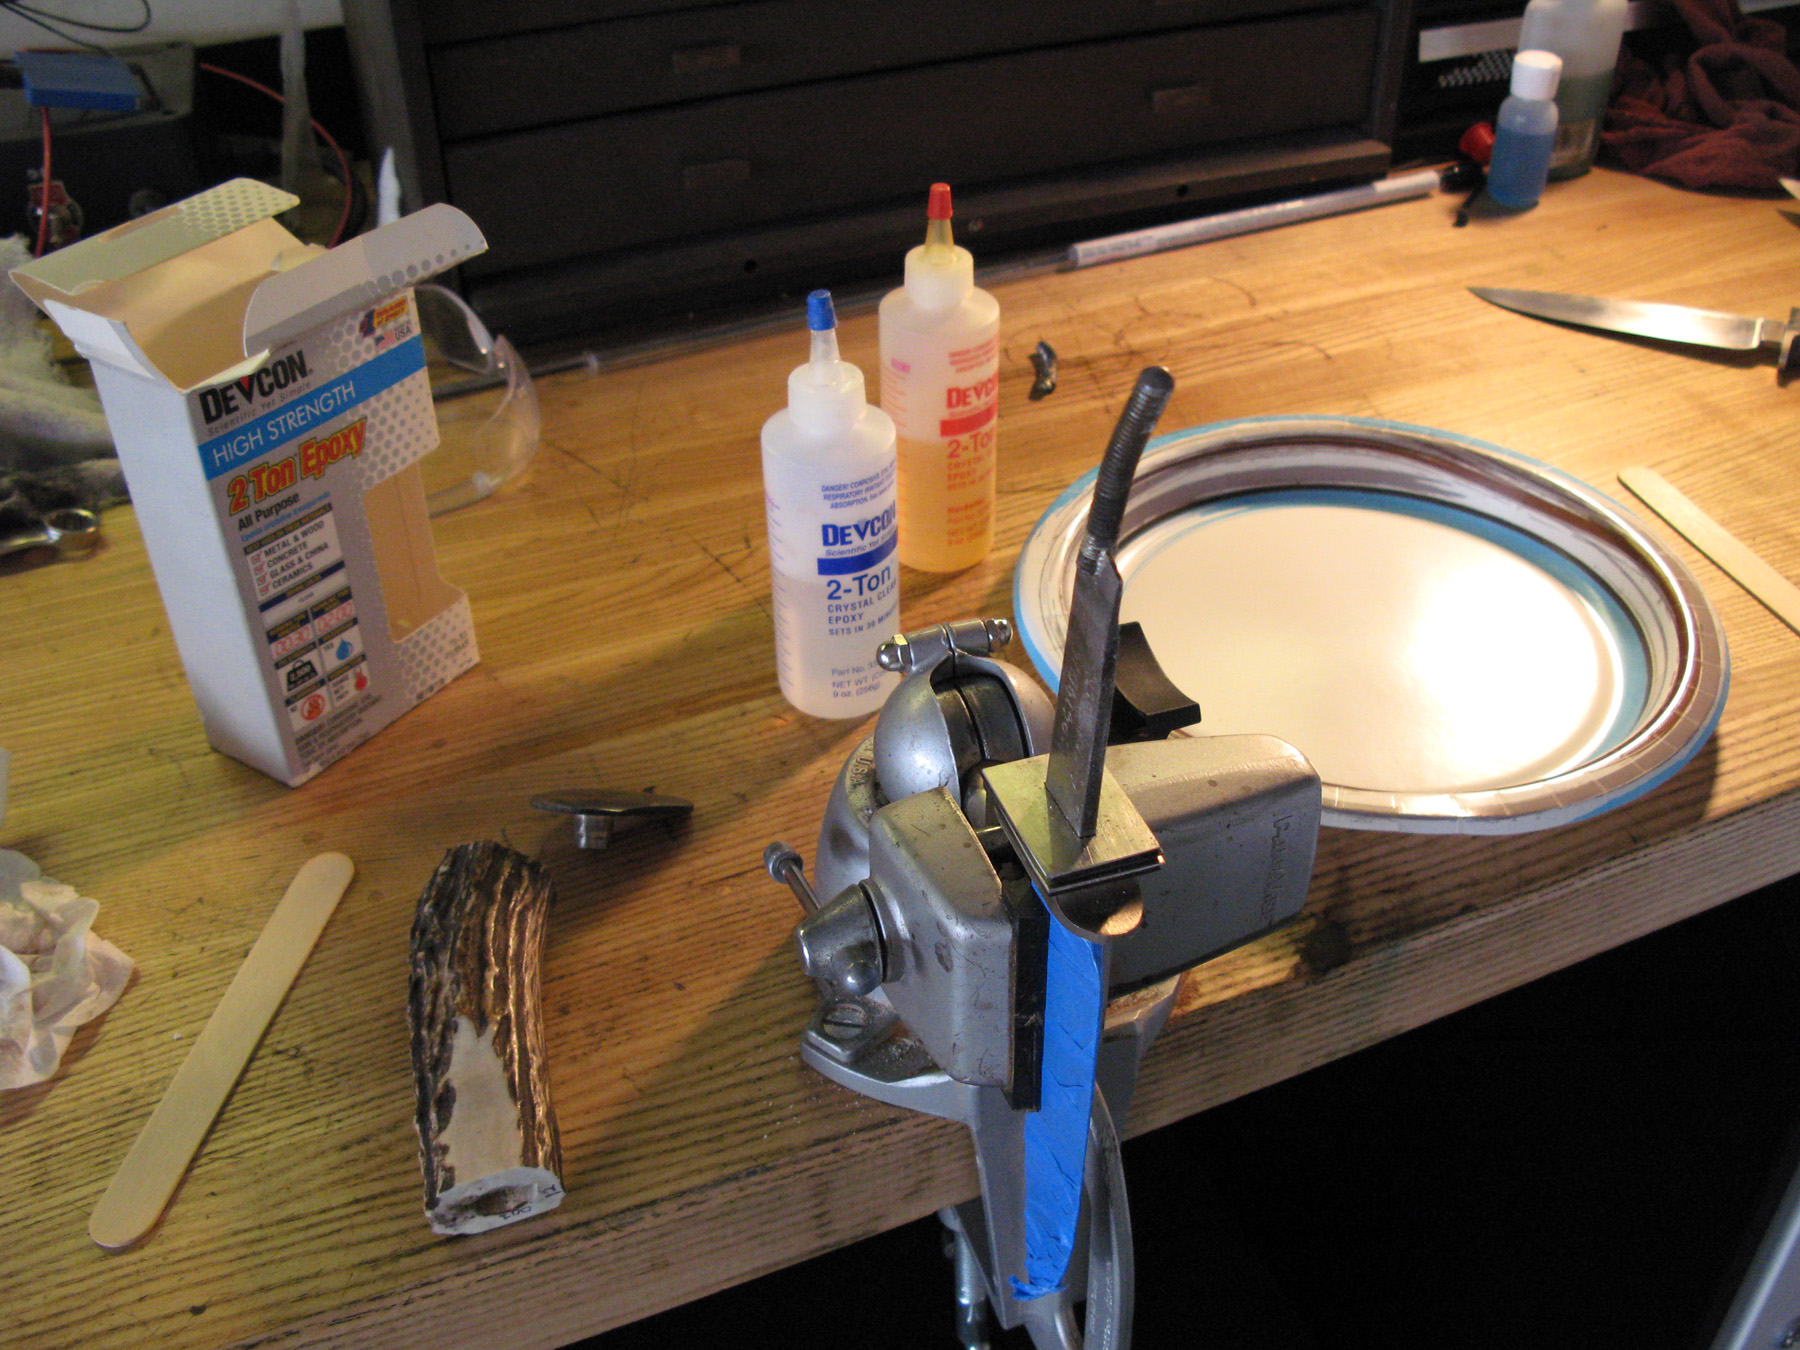
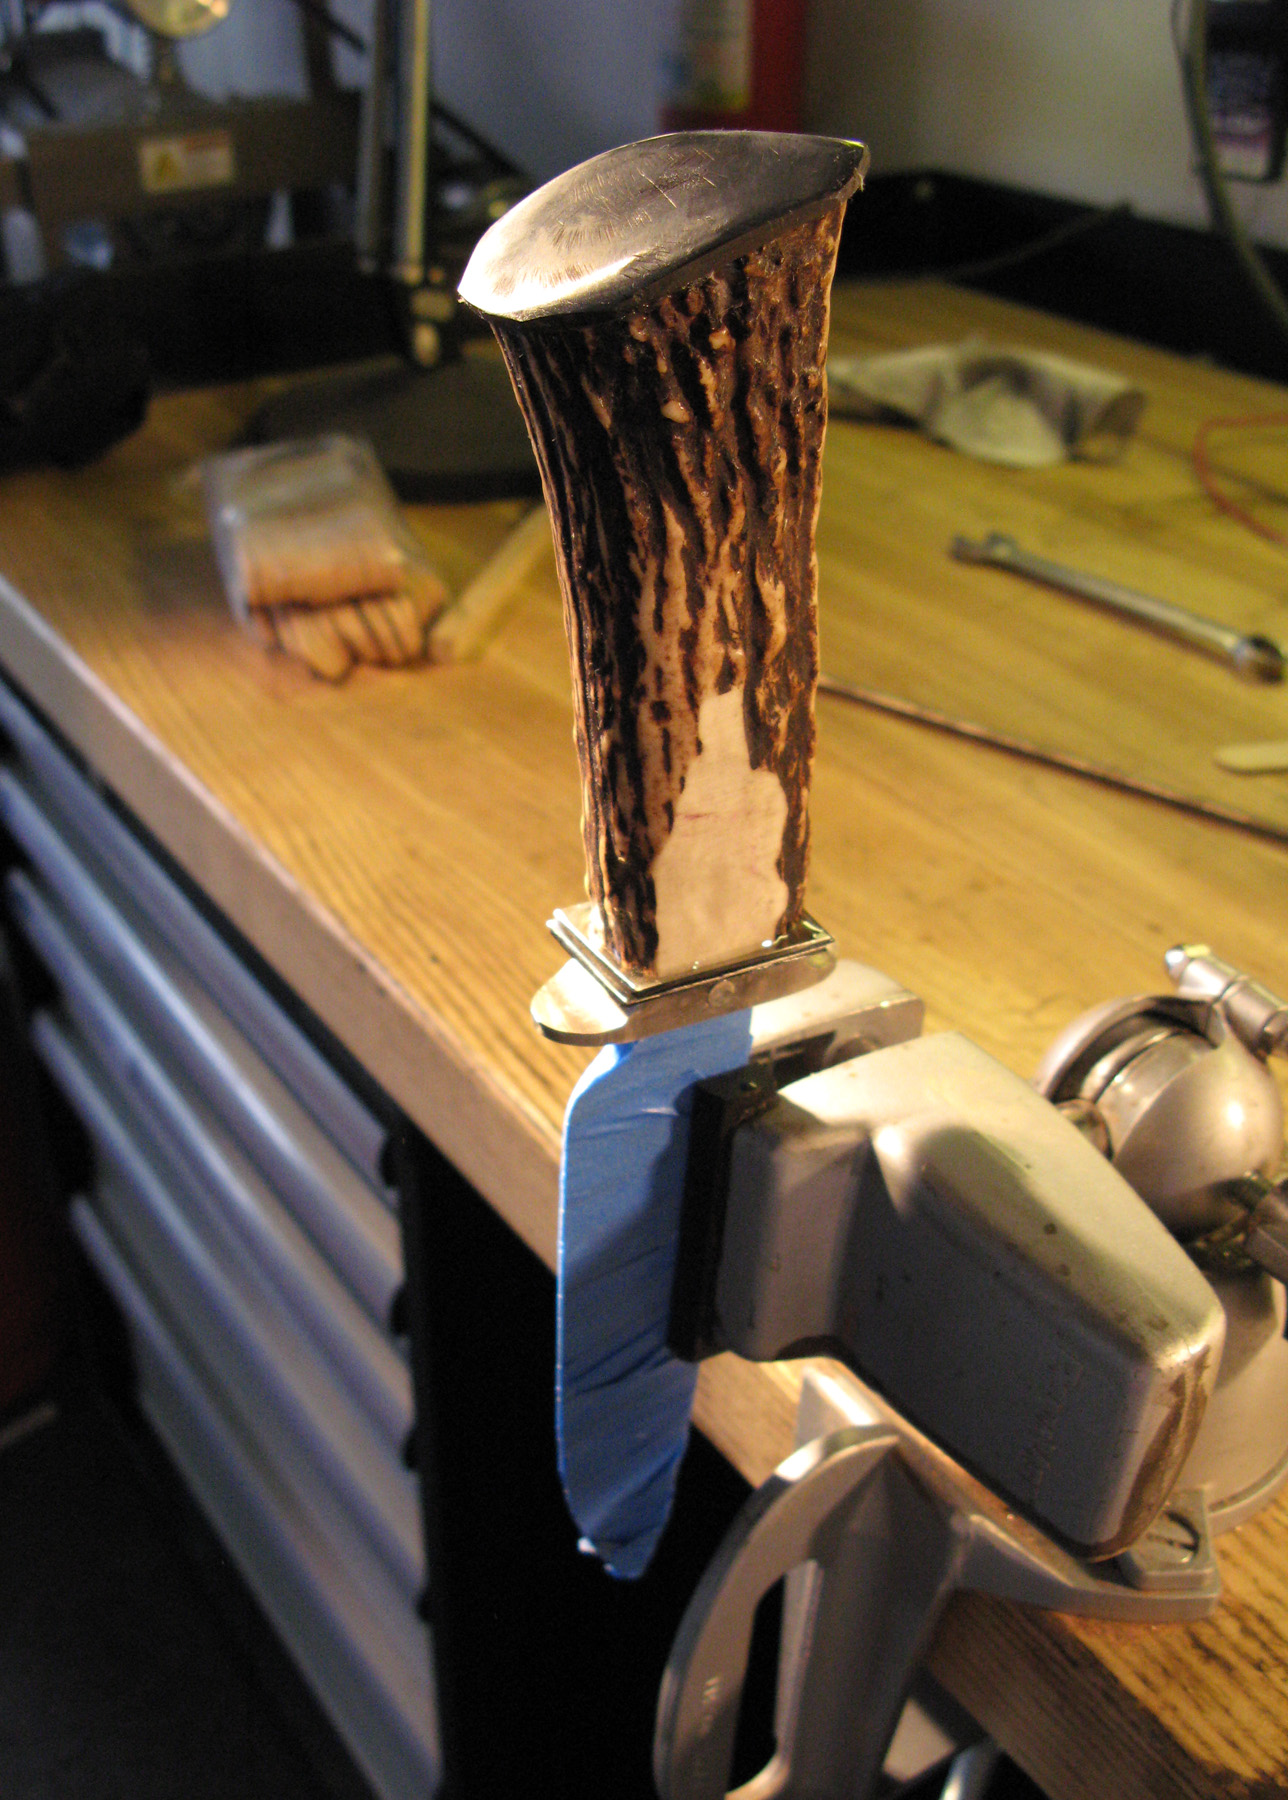
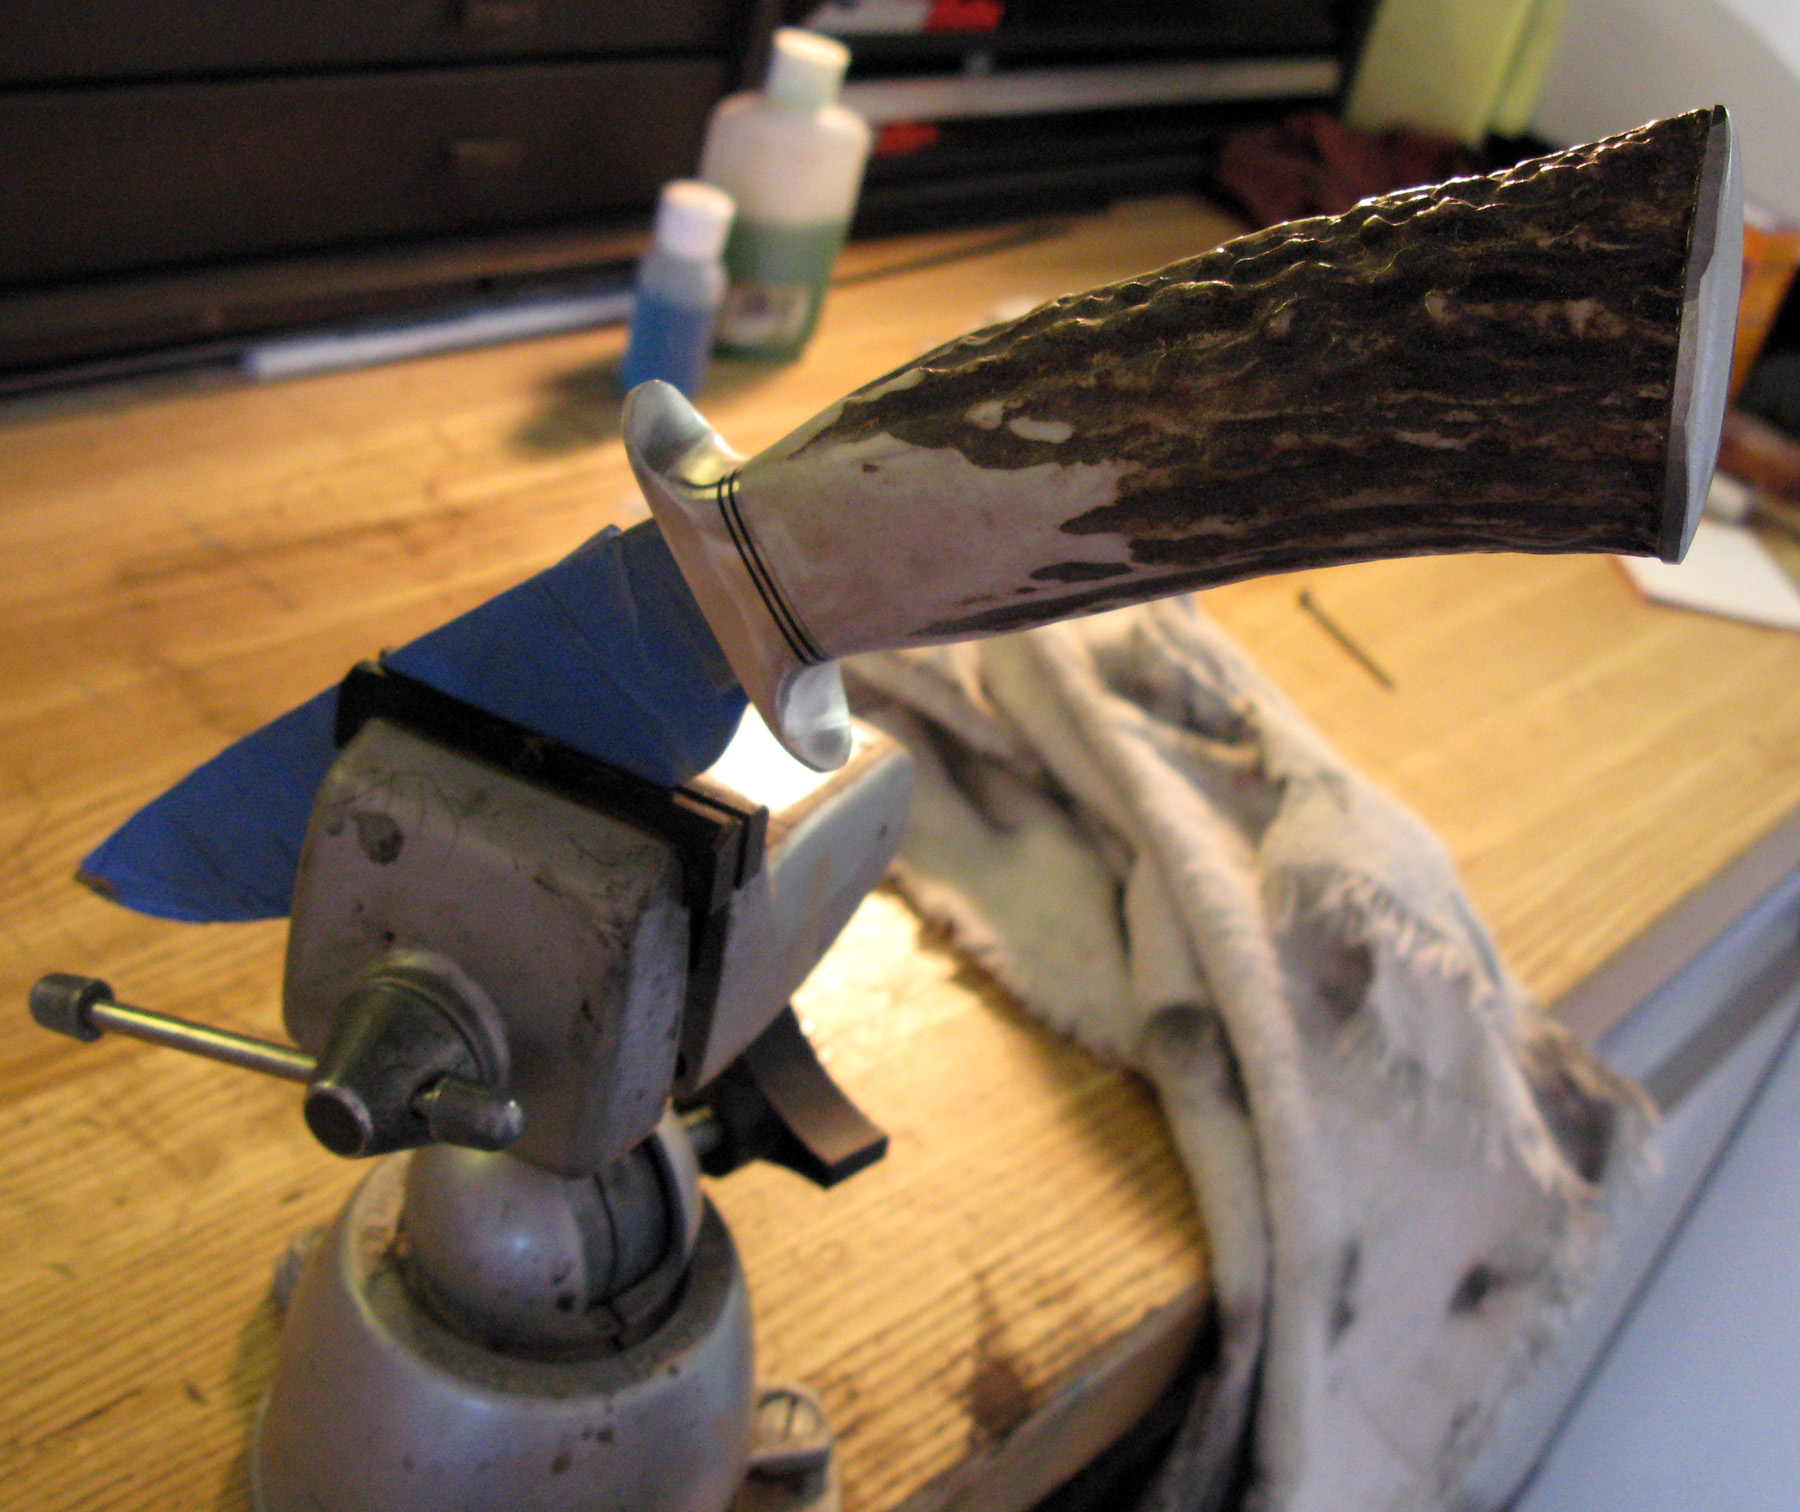
Assembling and Glueing the HandleFinally, epoxy is used to permanently assemble the handle. The entire hollow volume of the handle is filled with epoxy. Acetone can be used to clean-up overflow of excess epoxy before it dries.
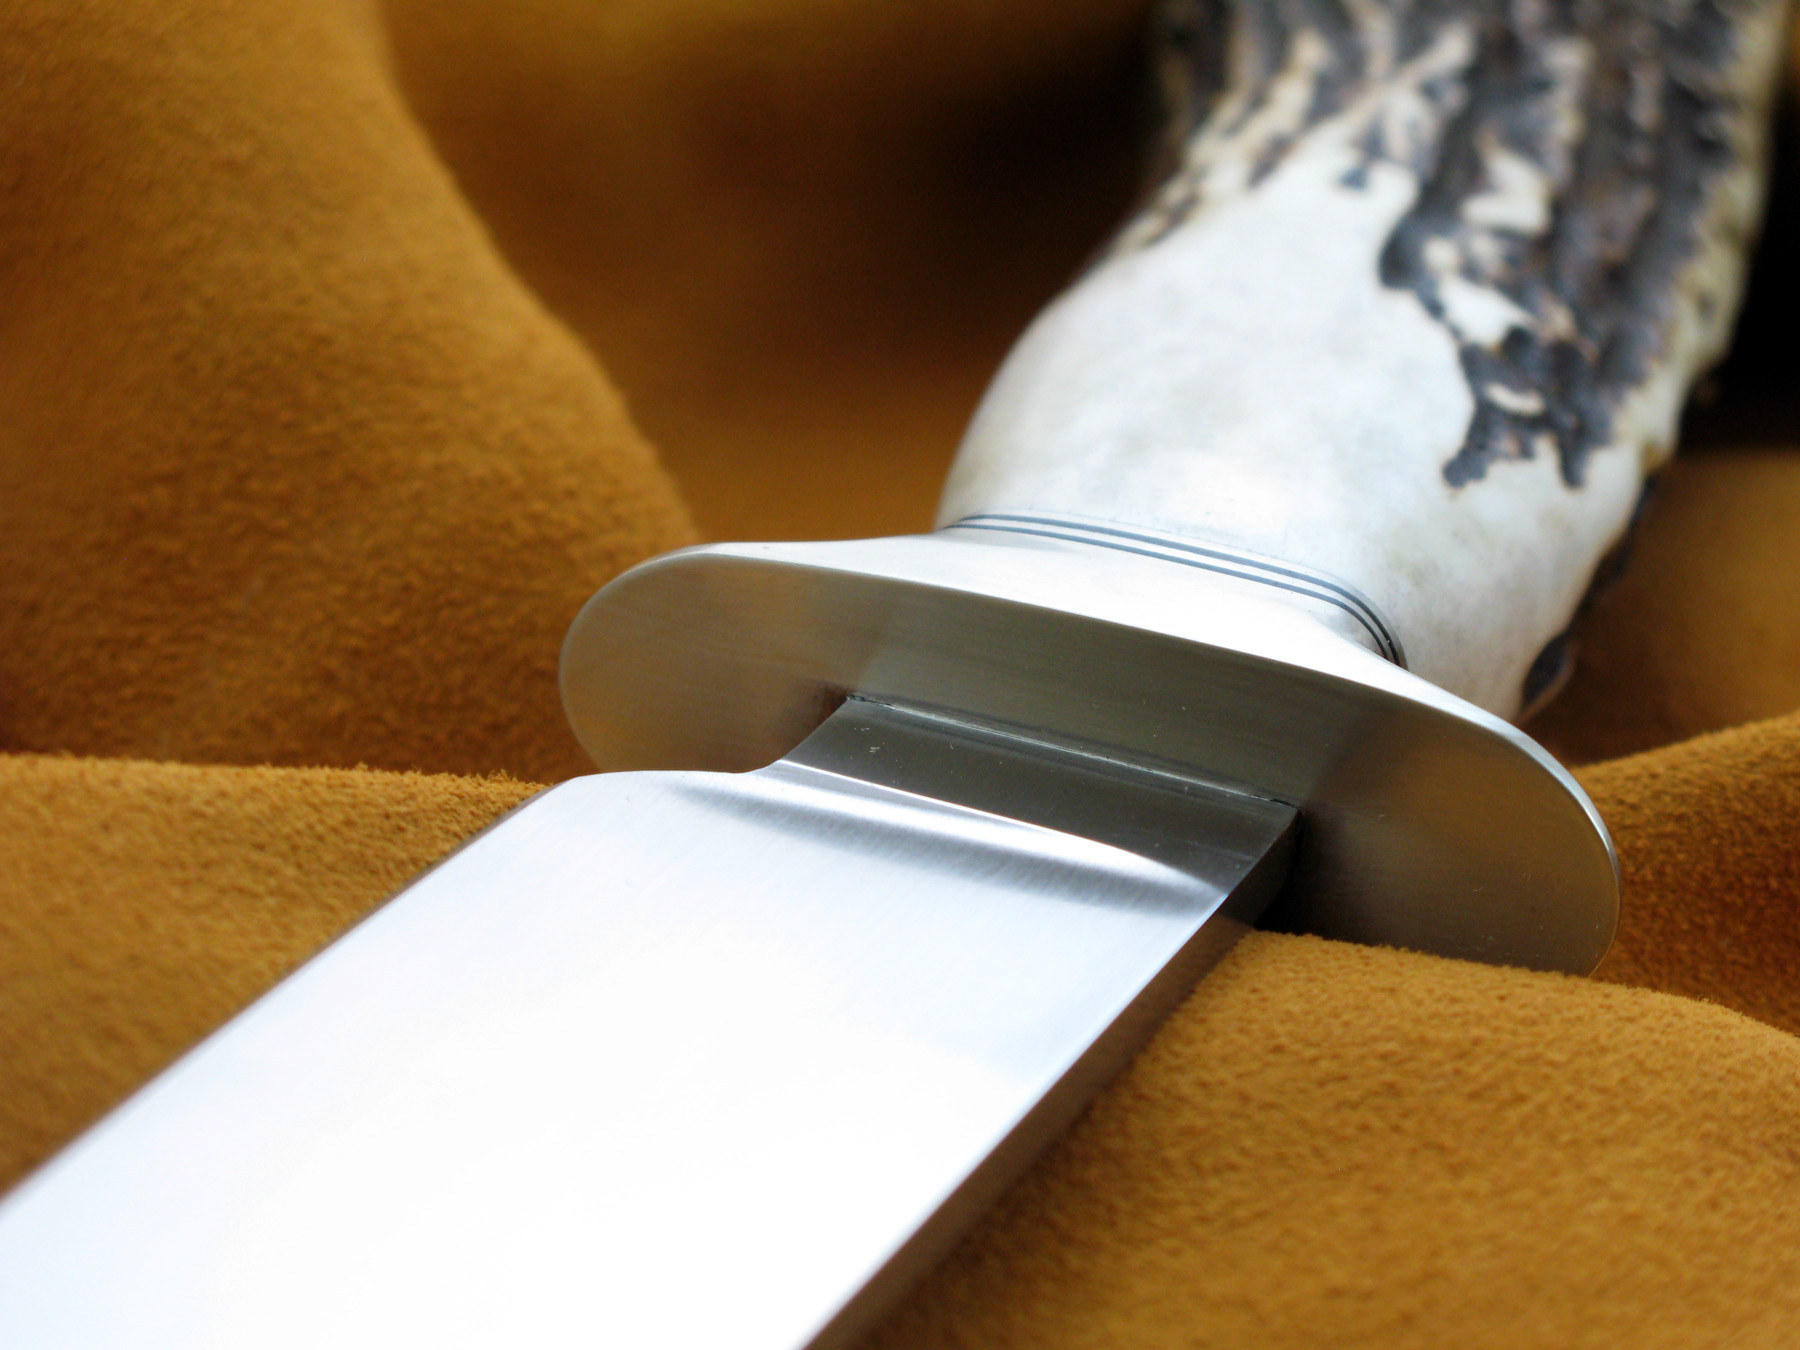
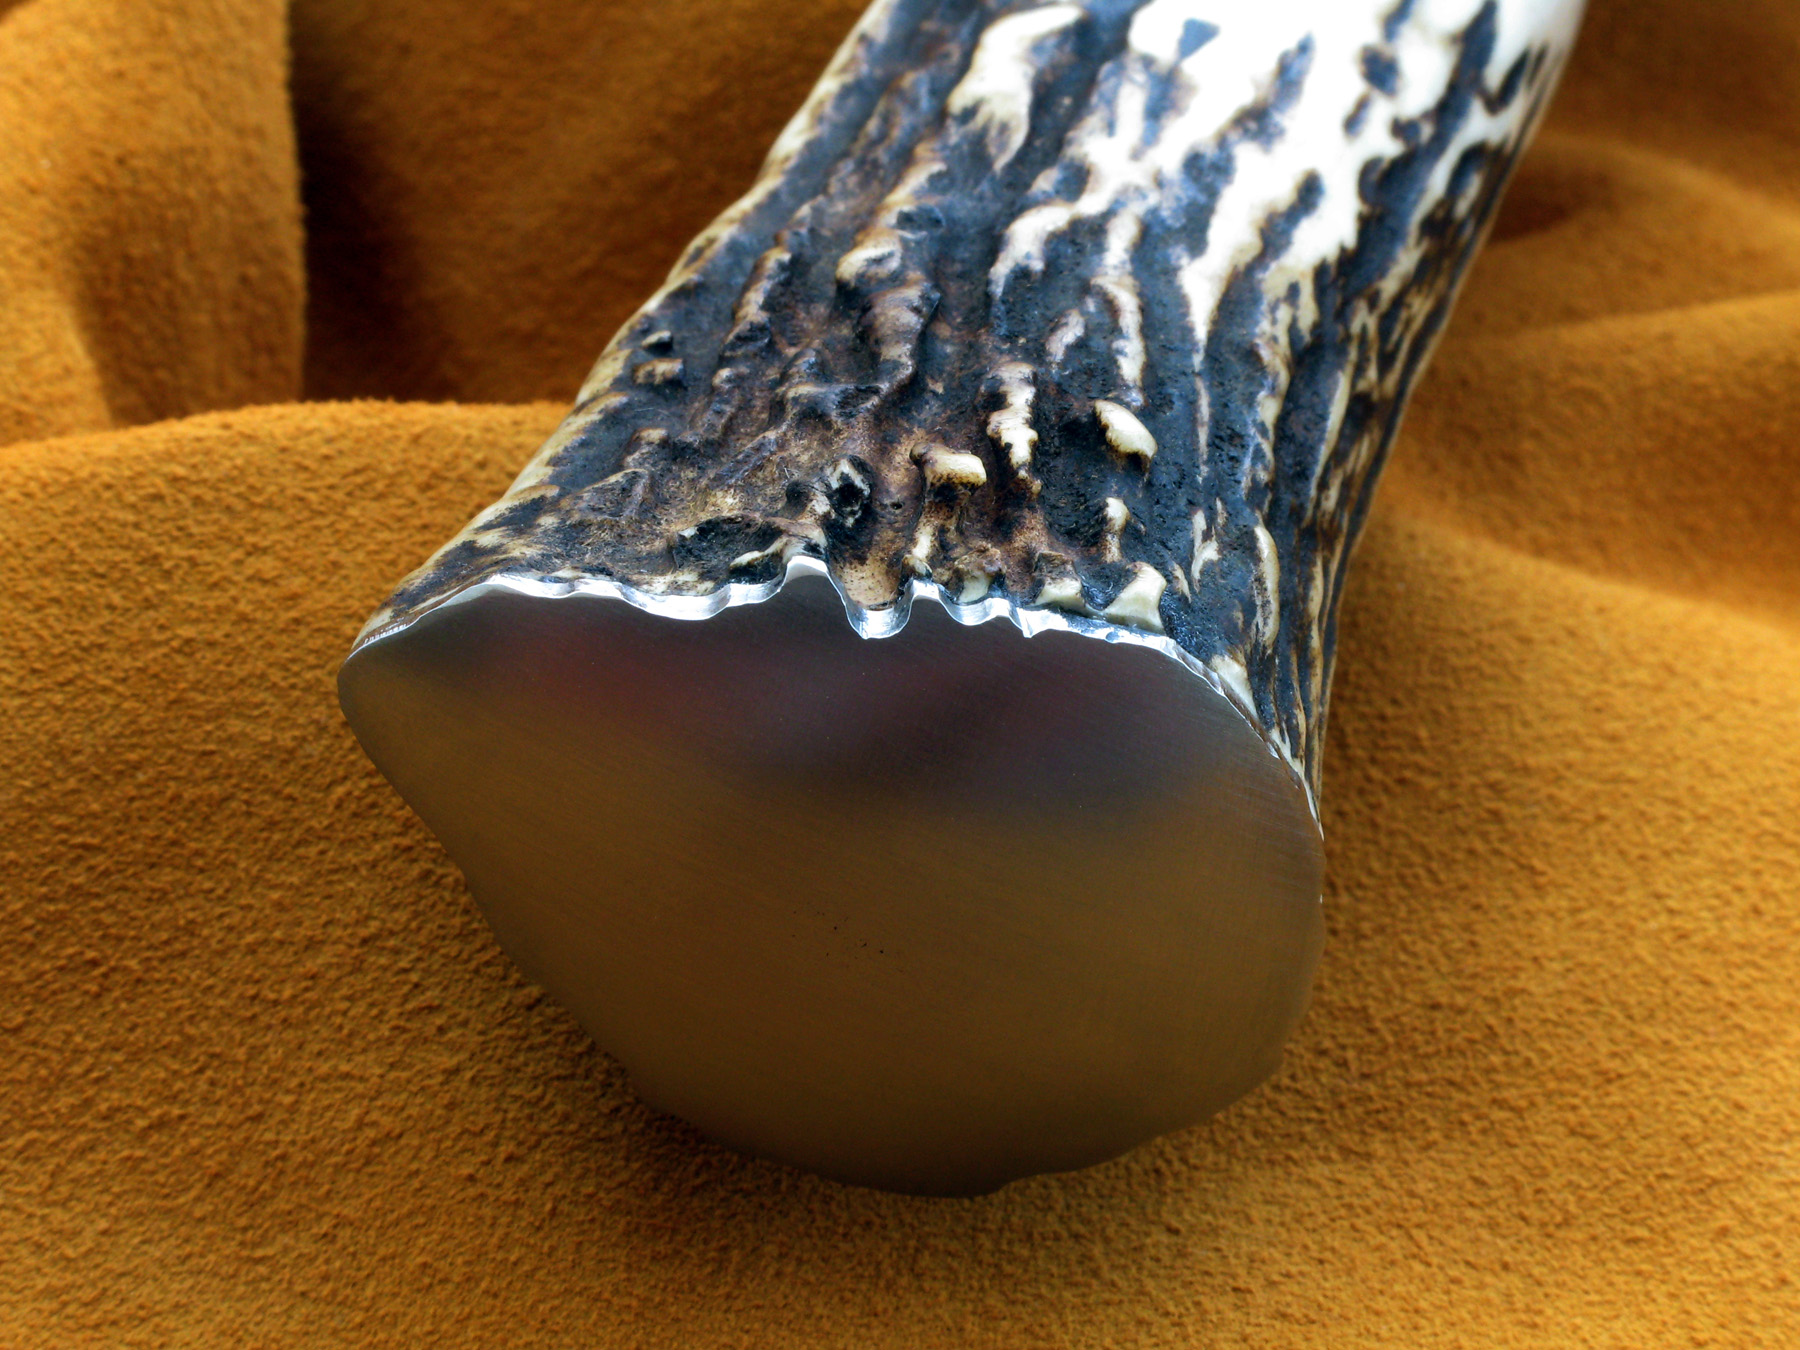
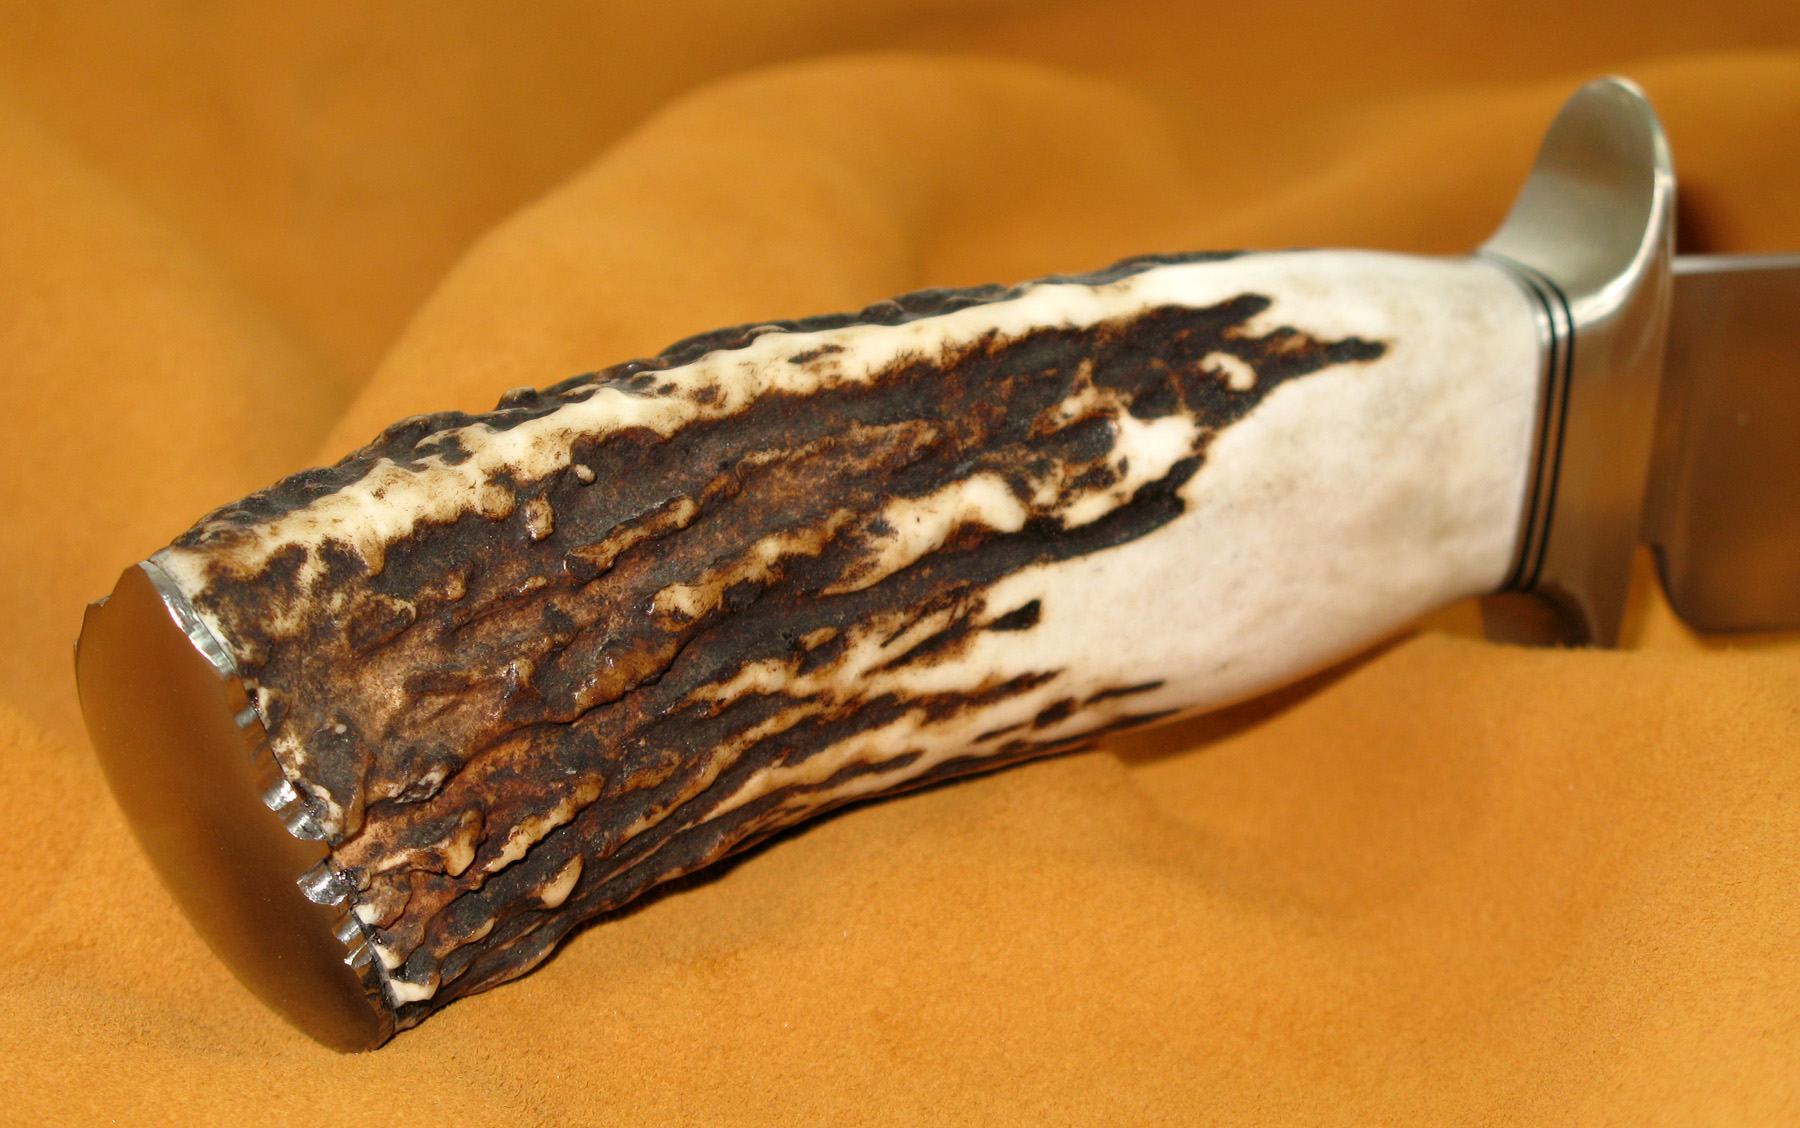
Final shaping of Guard, Handle, and SpacersI use my KMG belt grinder, files, rotary tools, and hand sanding to finish shape the handle, guard, and spacers. The butt cap was carefully filed to match the valleys and peaks of the stag handle. The cap was sanded to a matte finish. A progression of the progress is shown below.
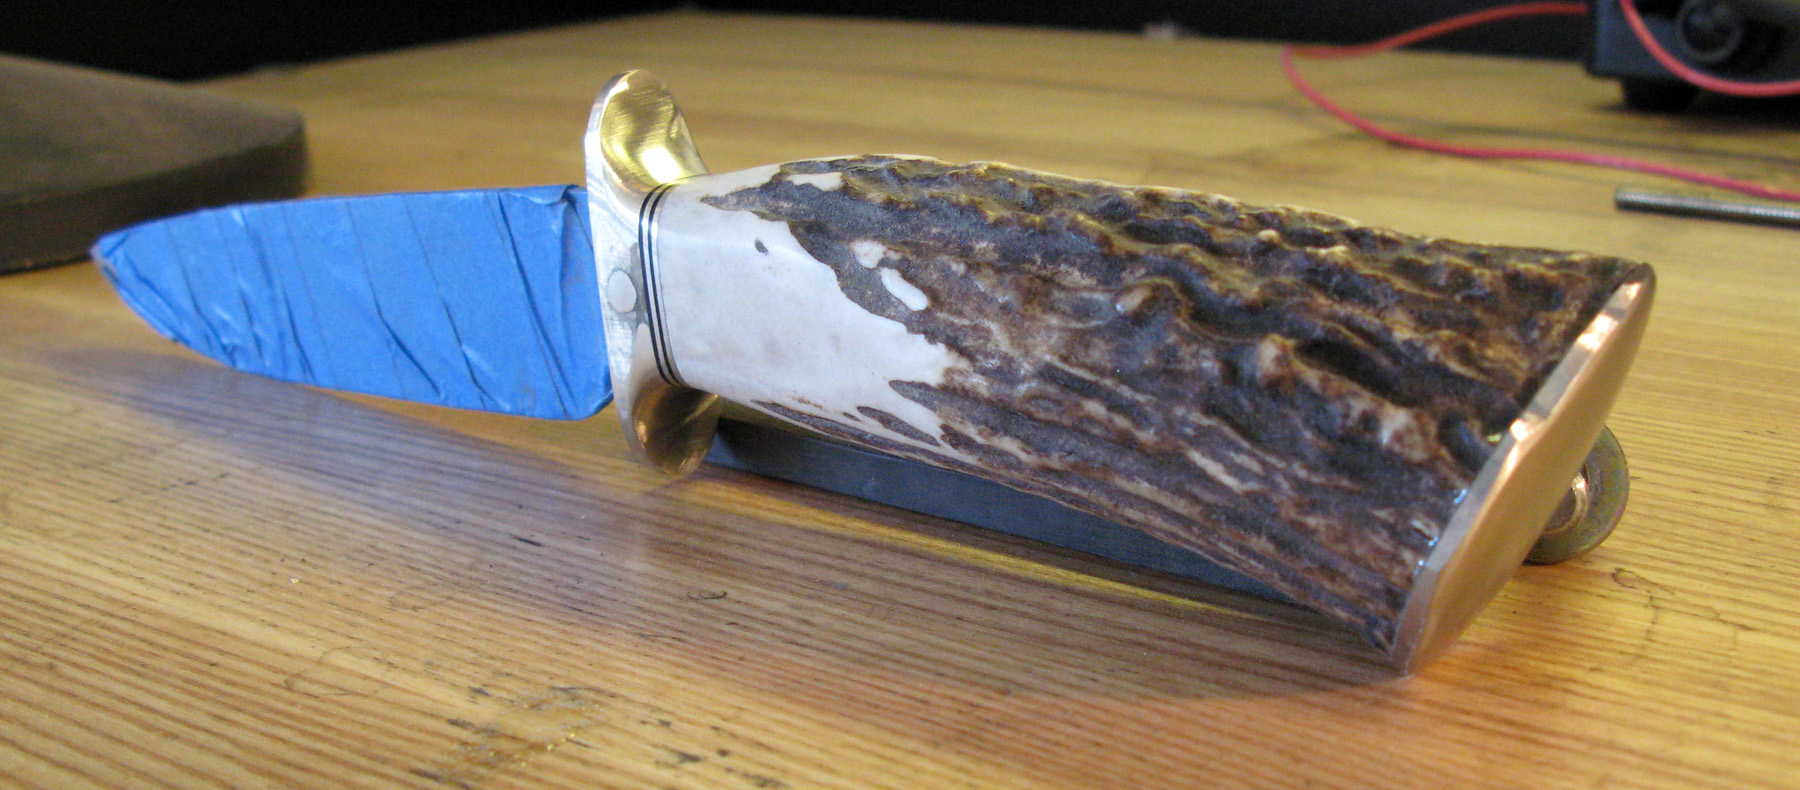
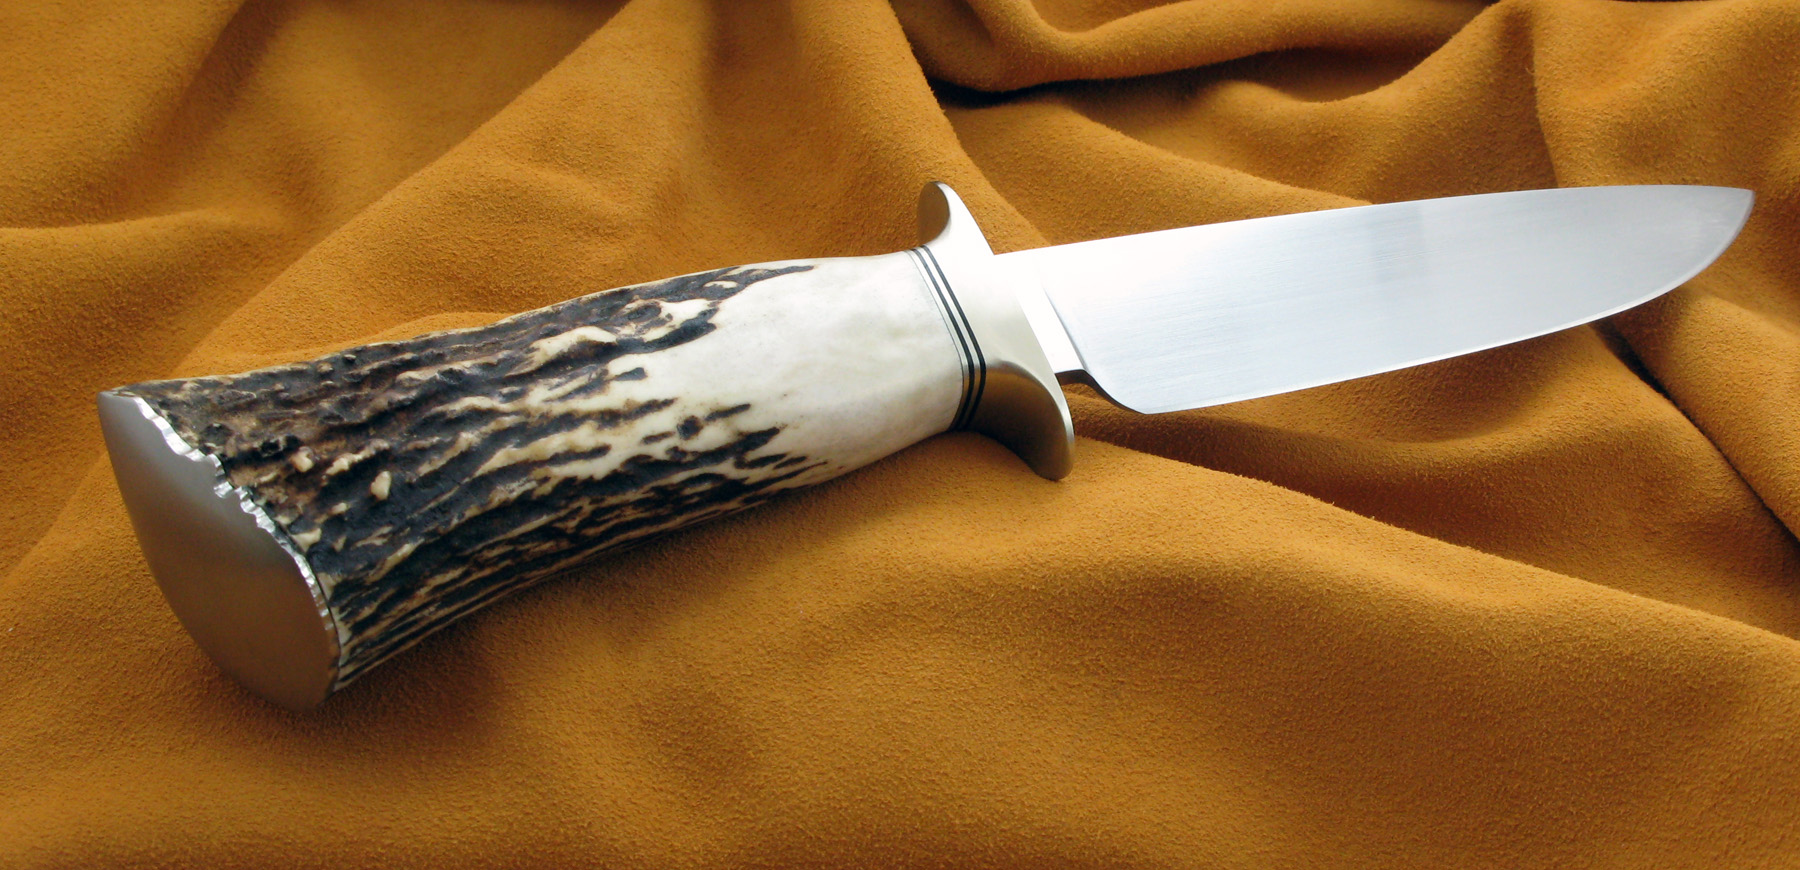
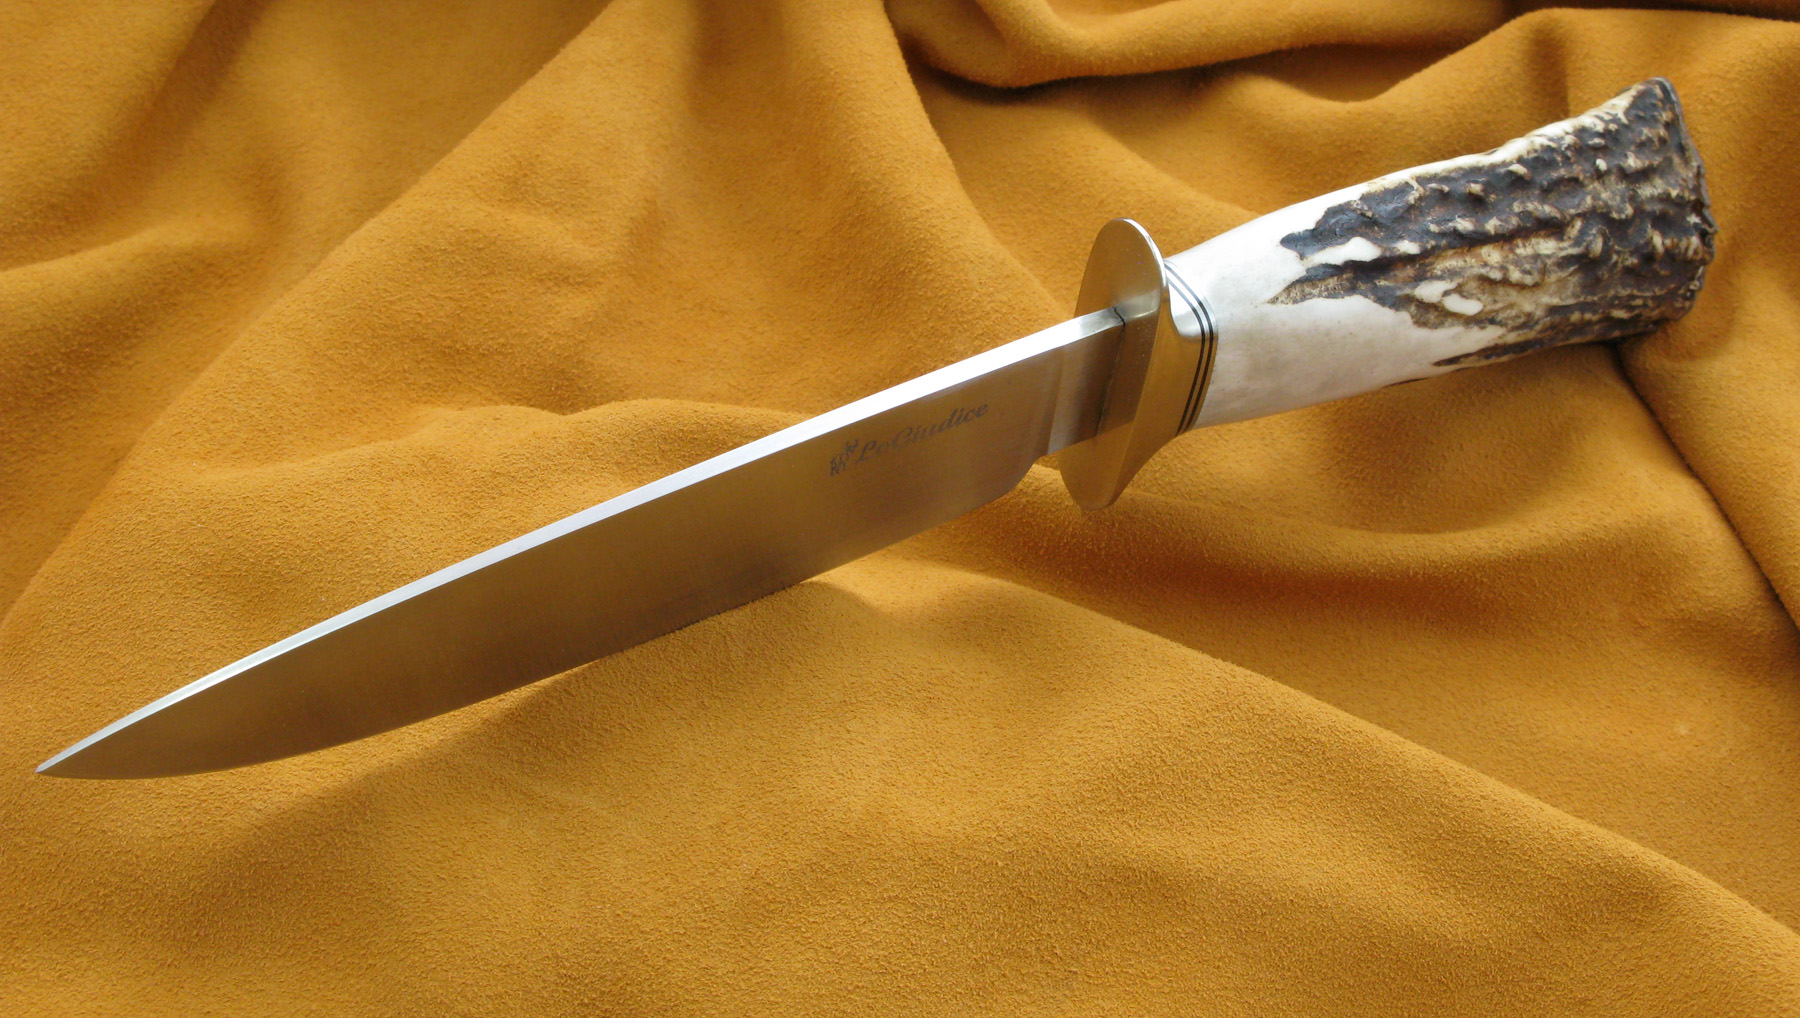
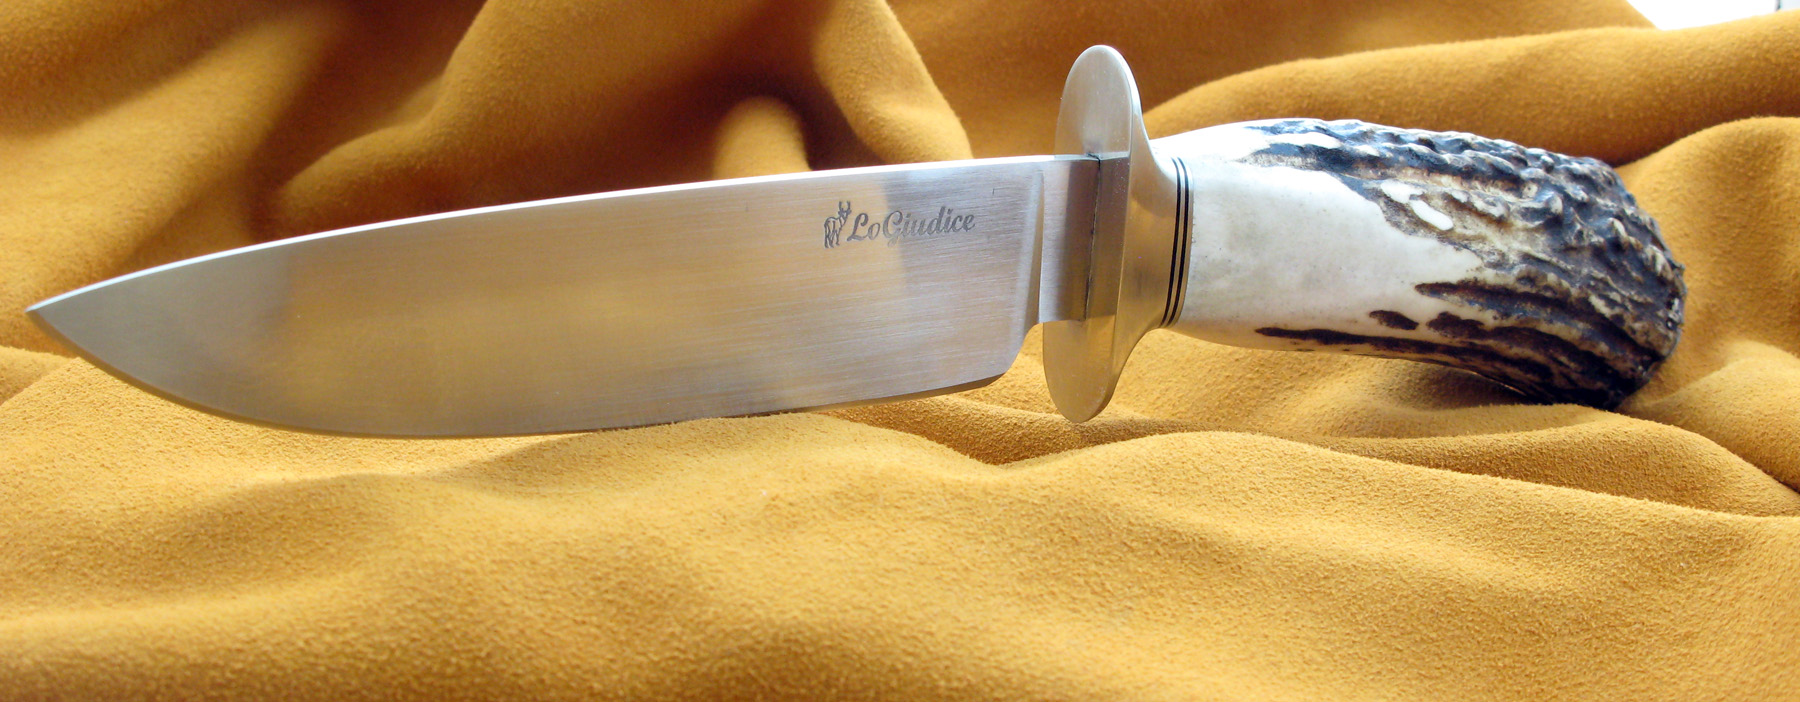
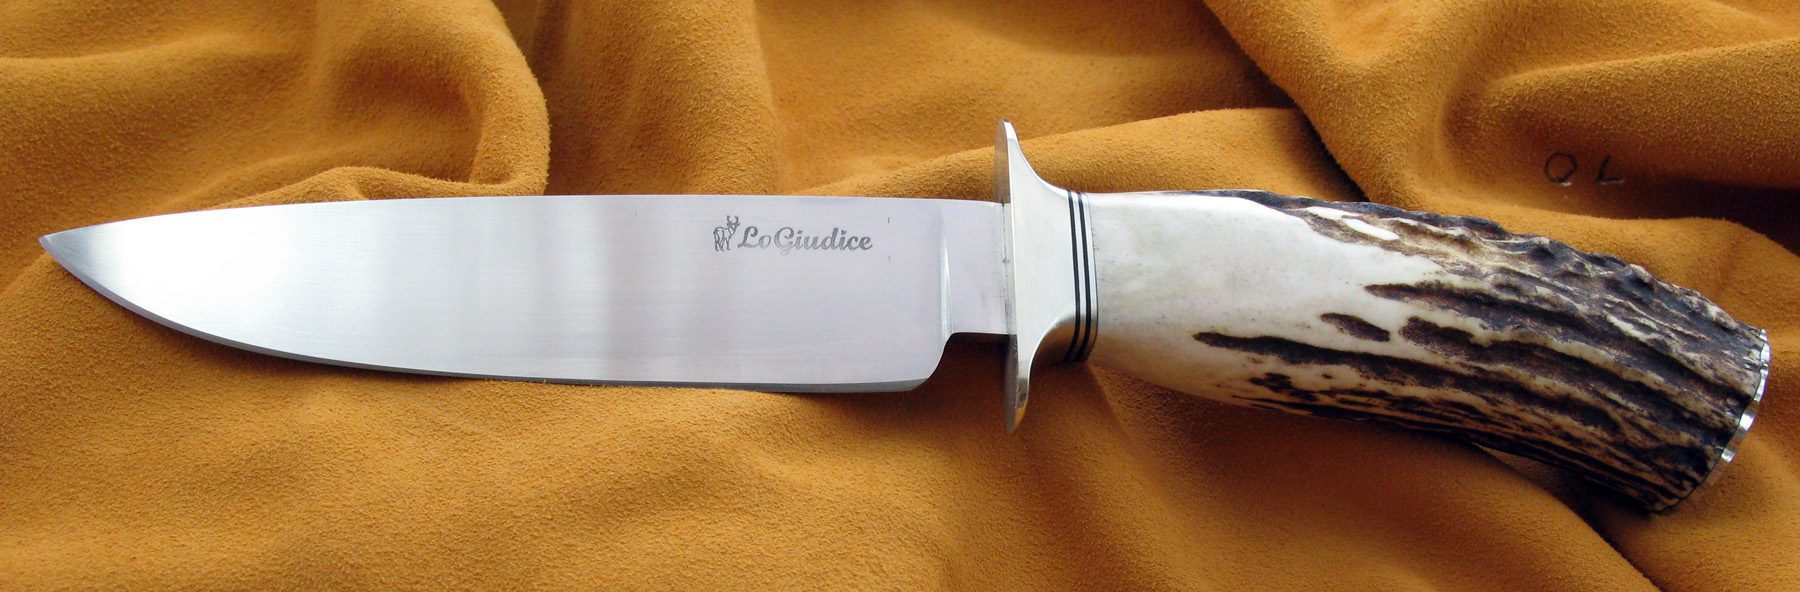
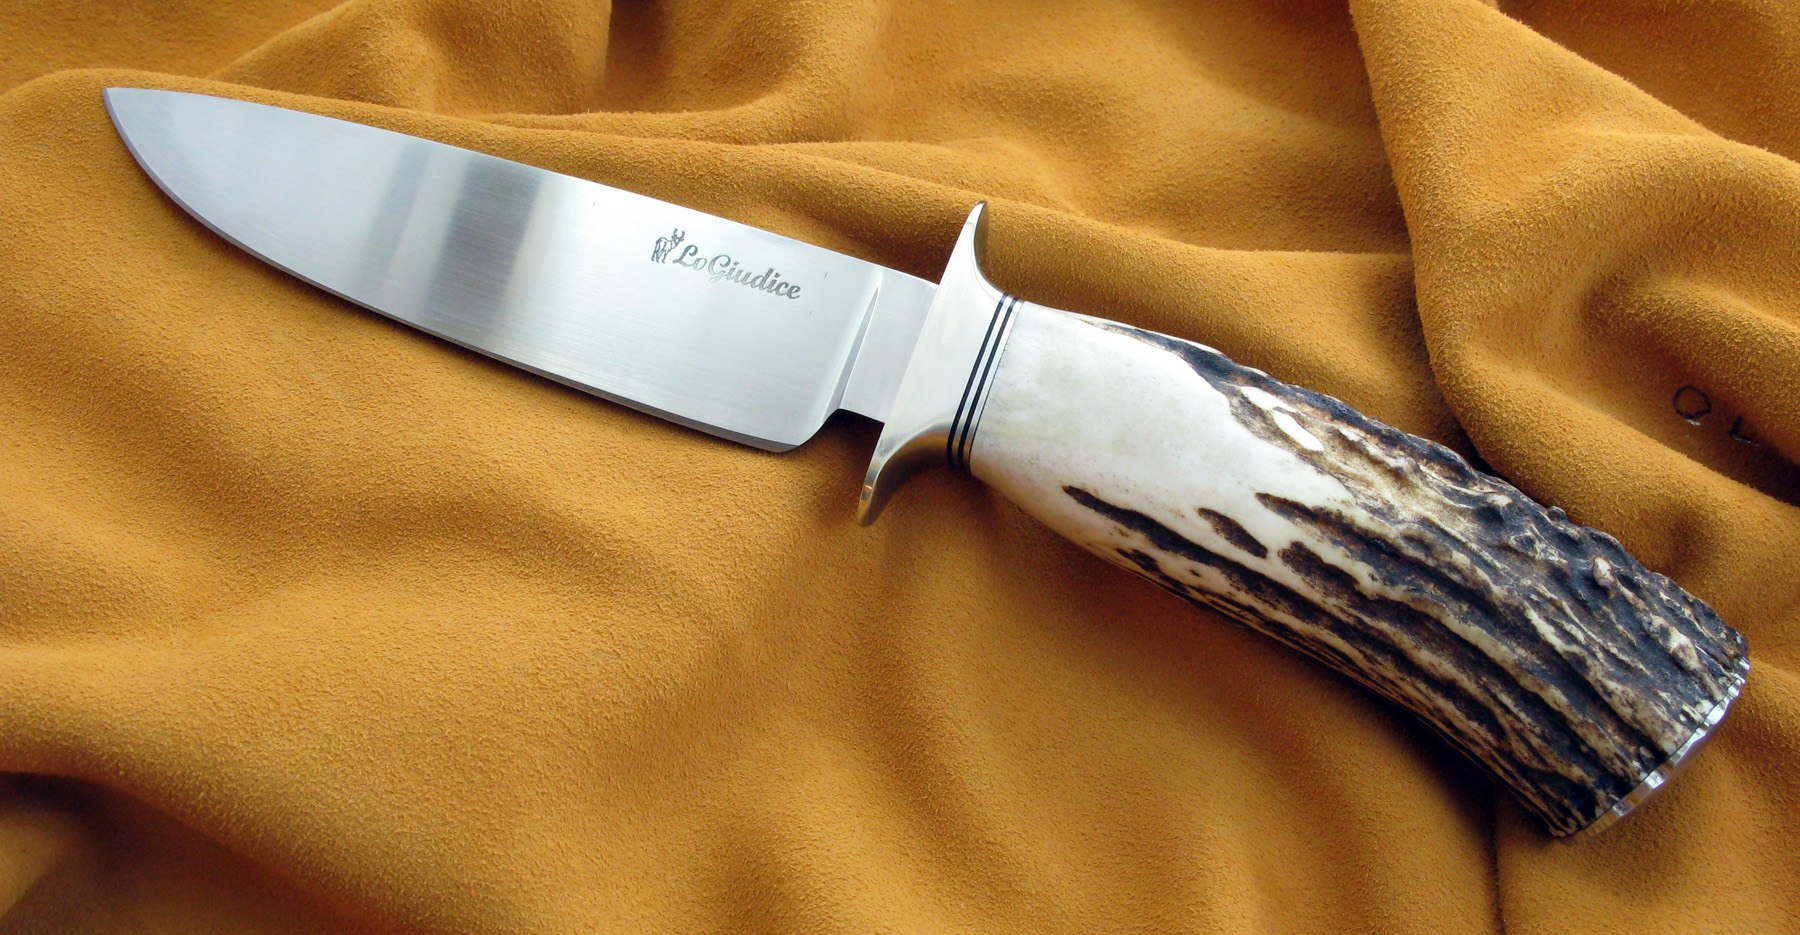
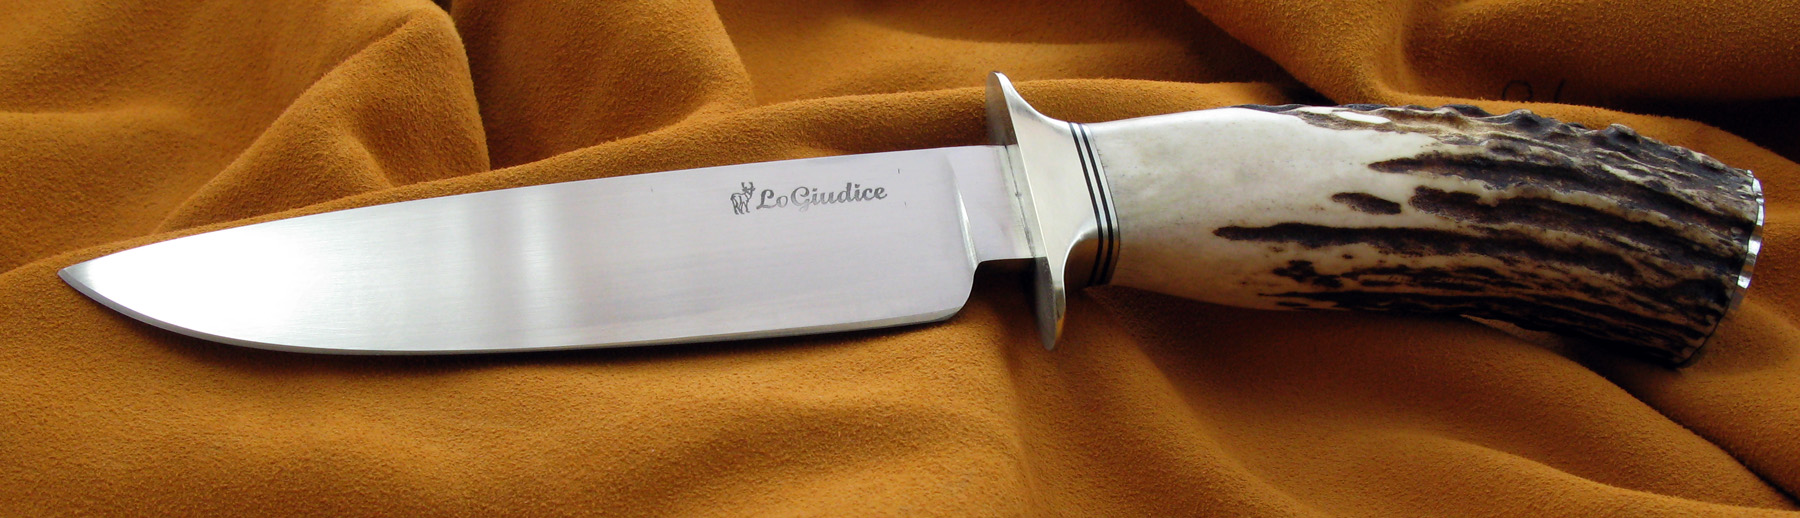
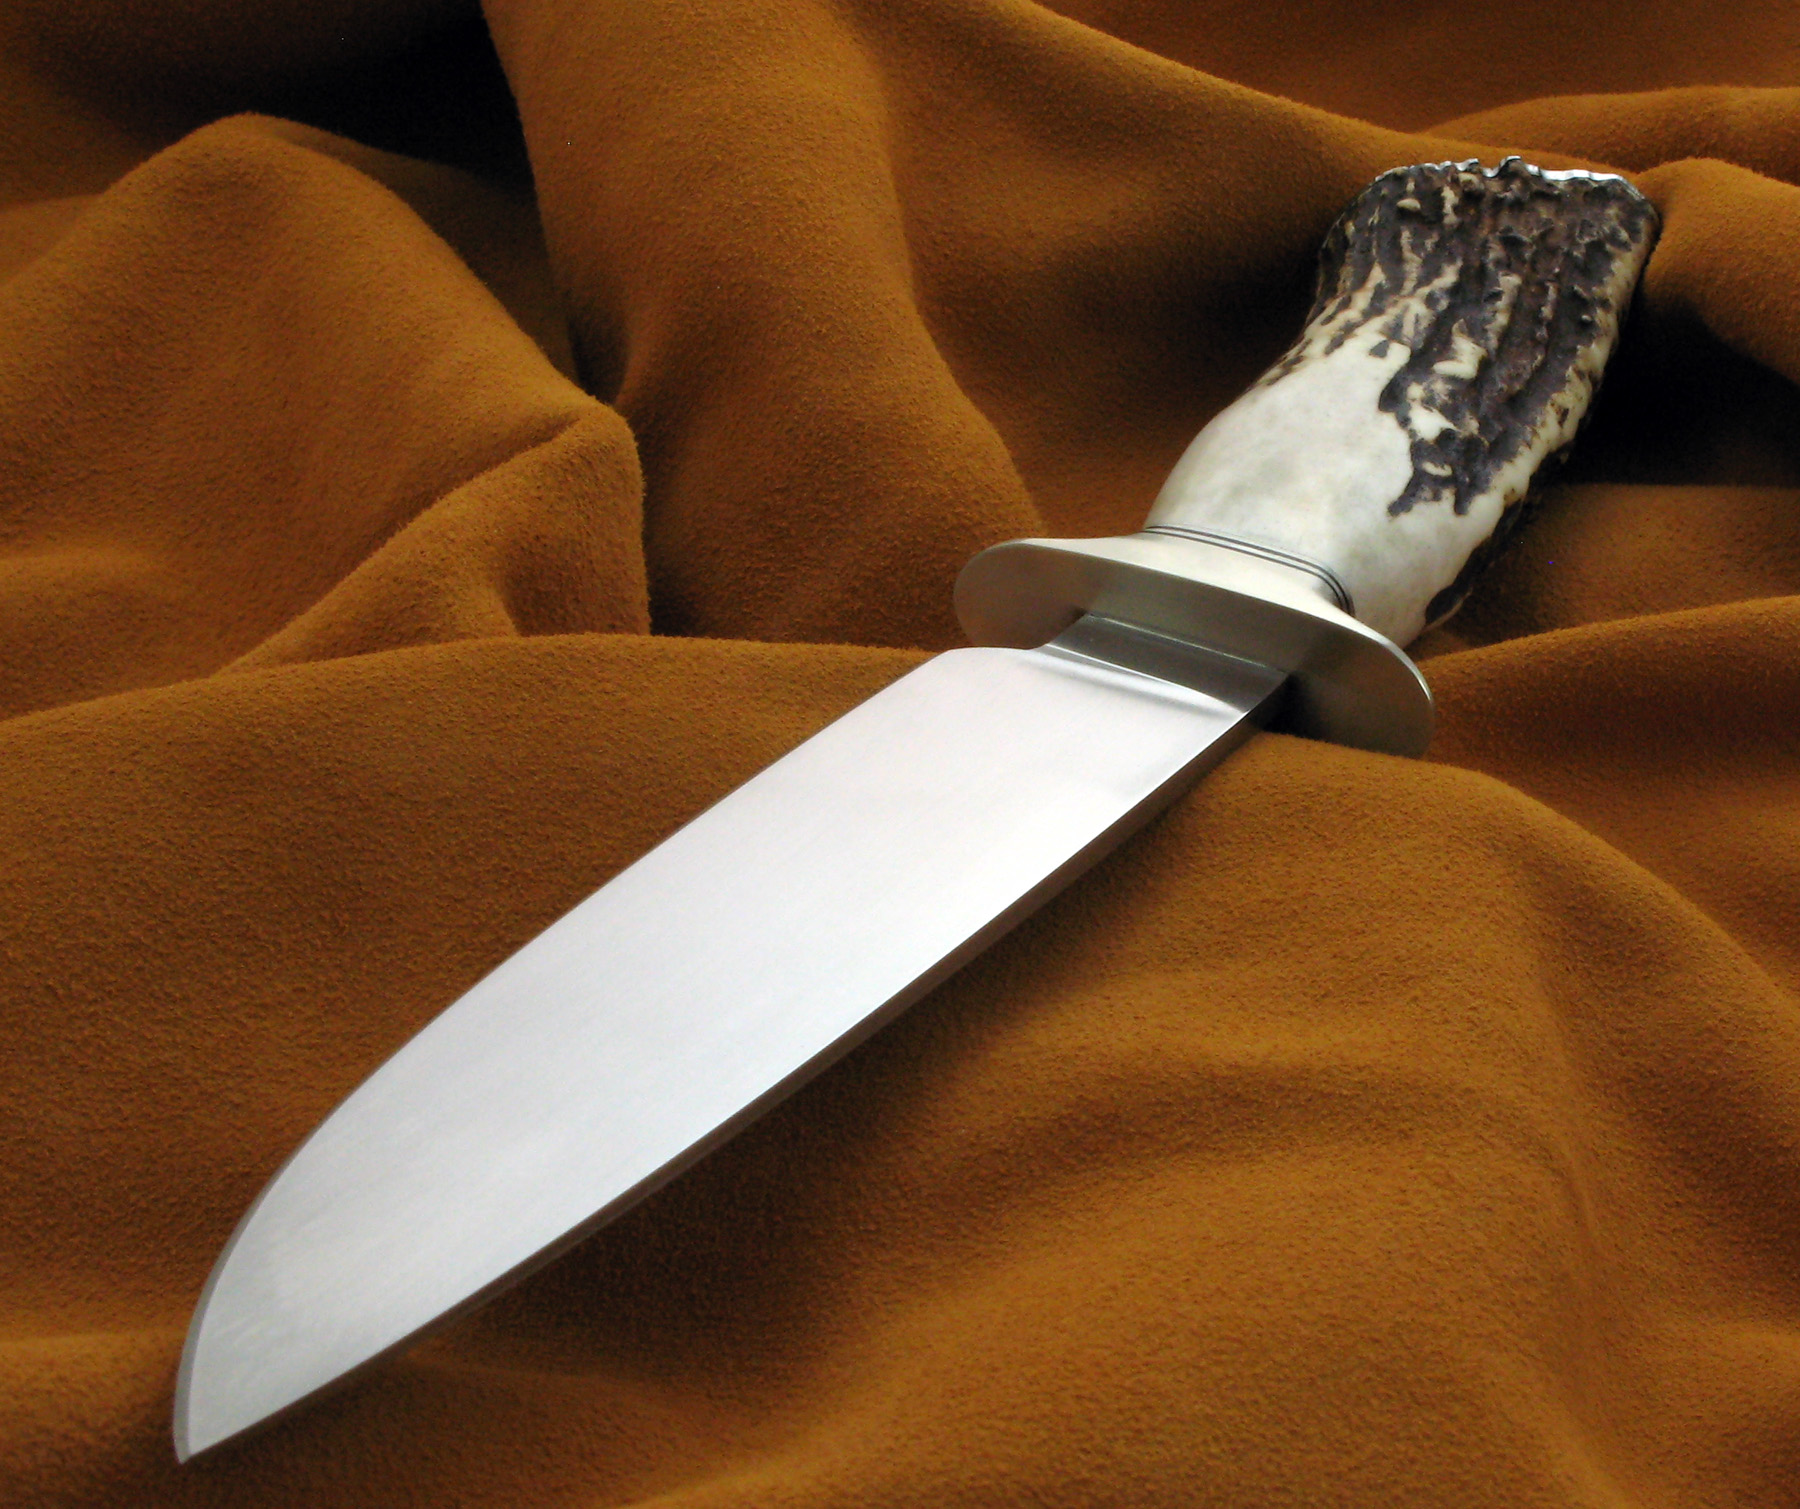
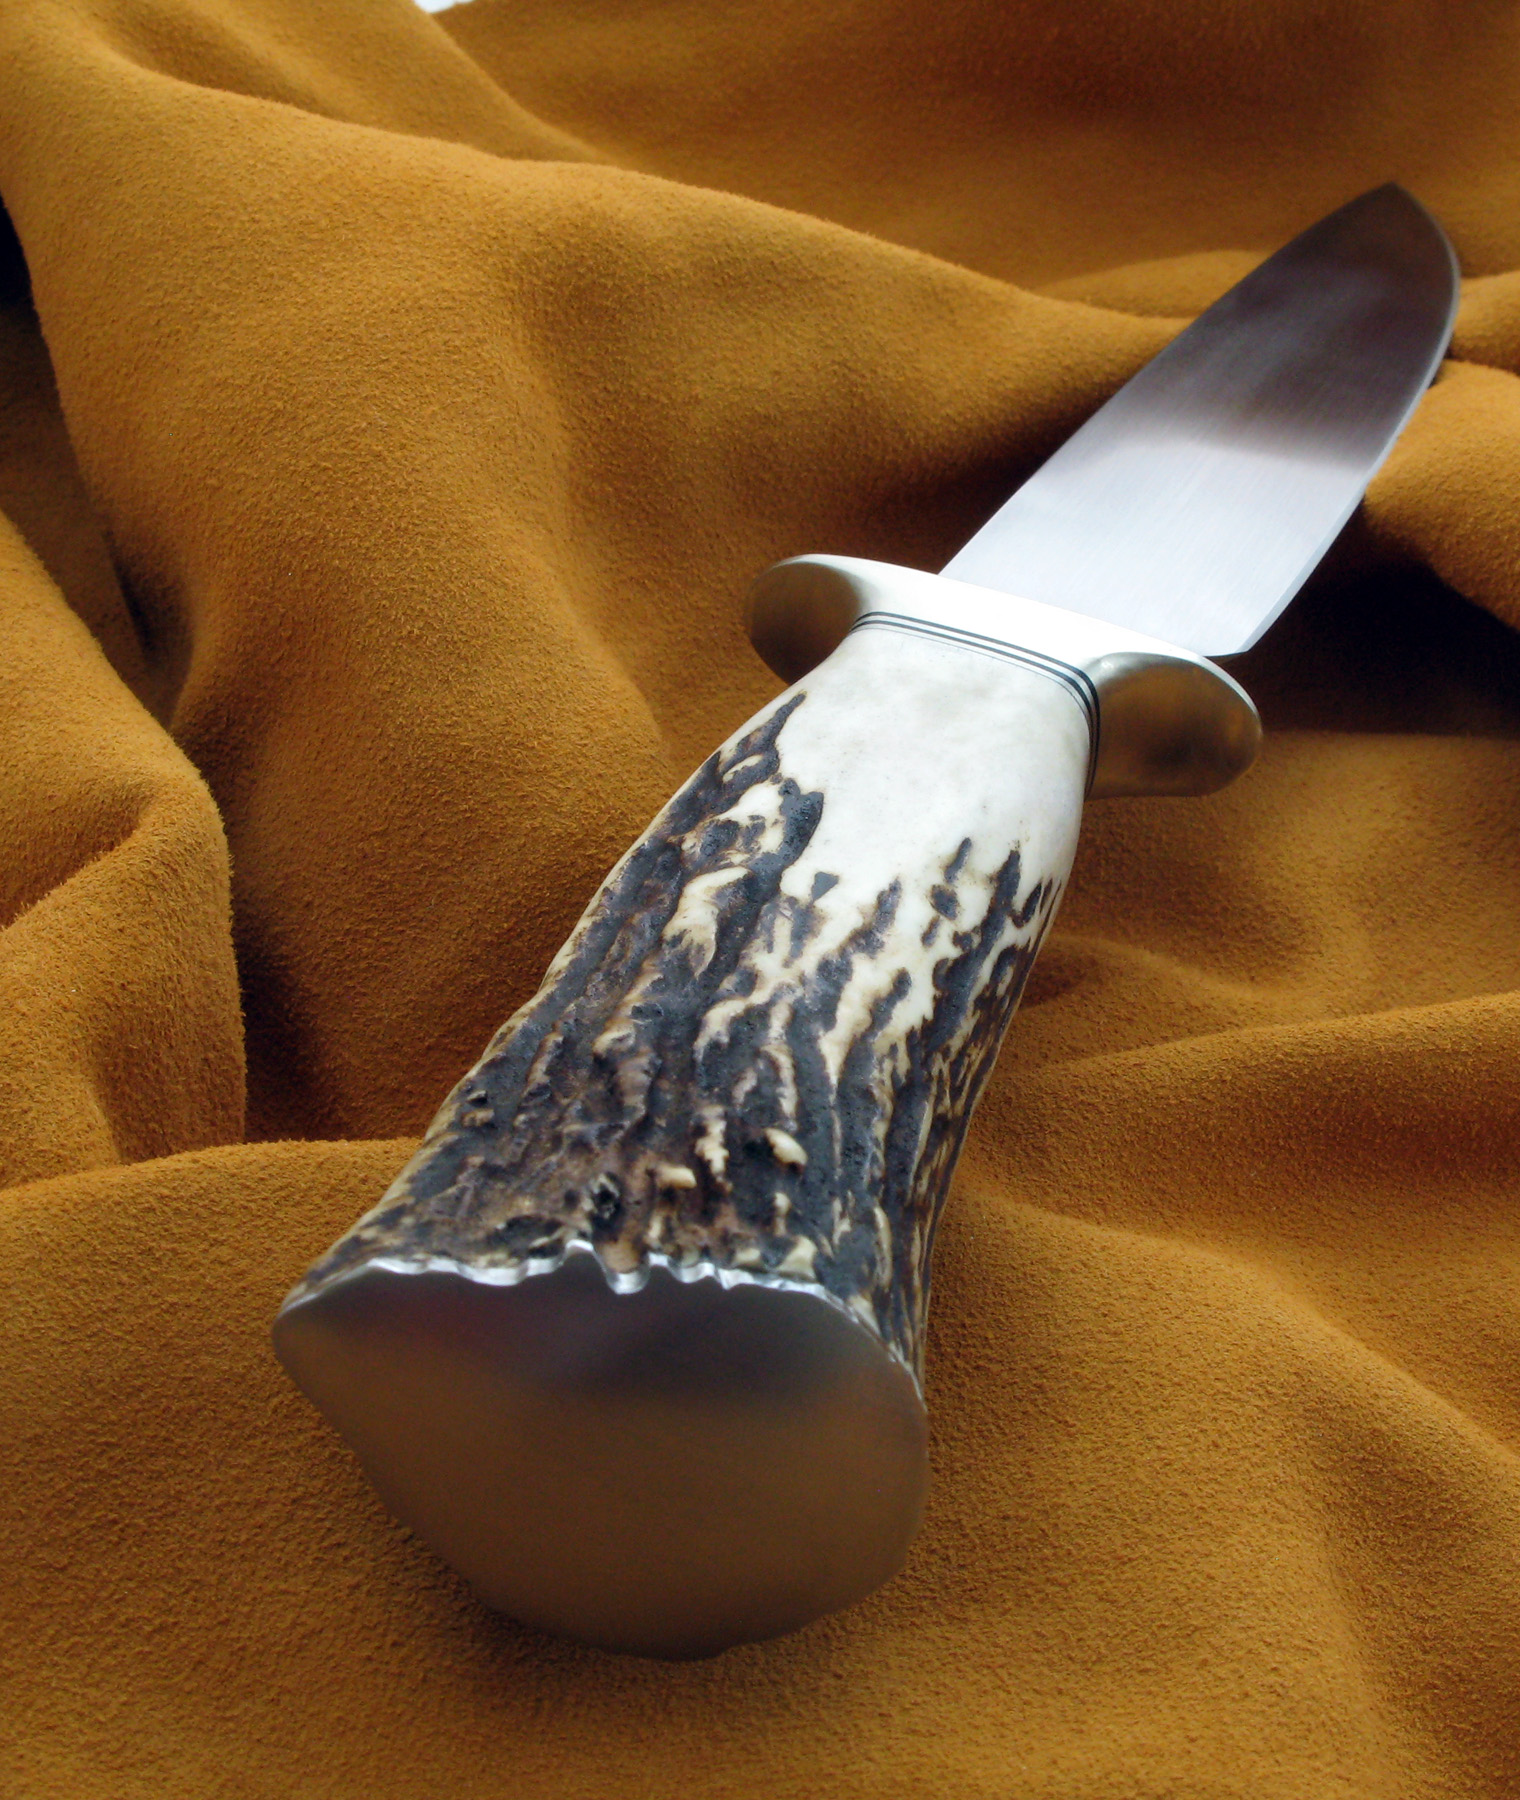
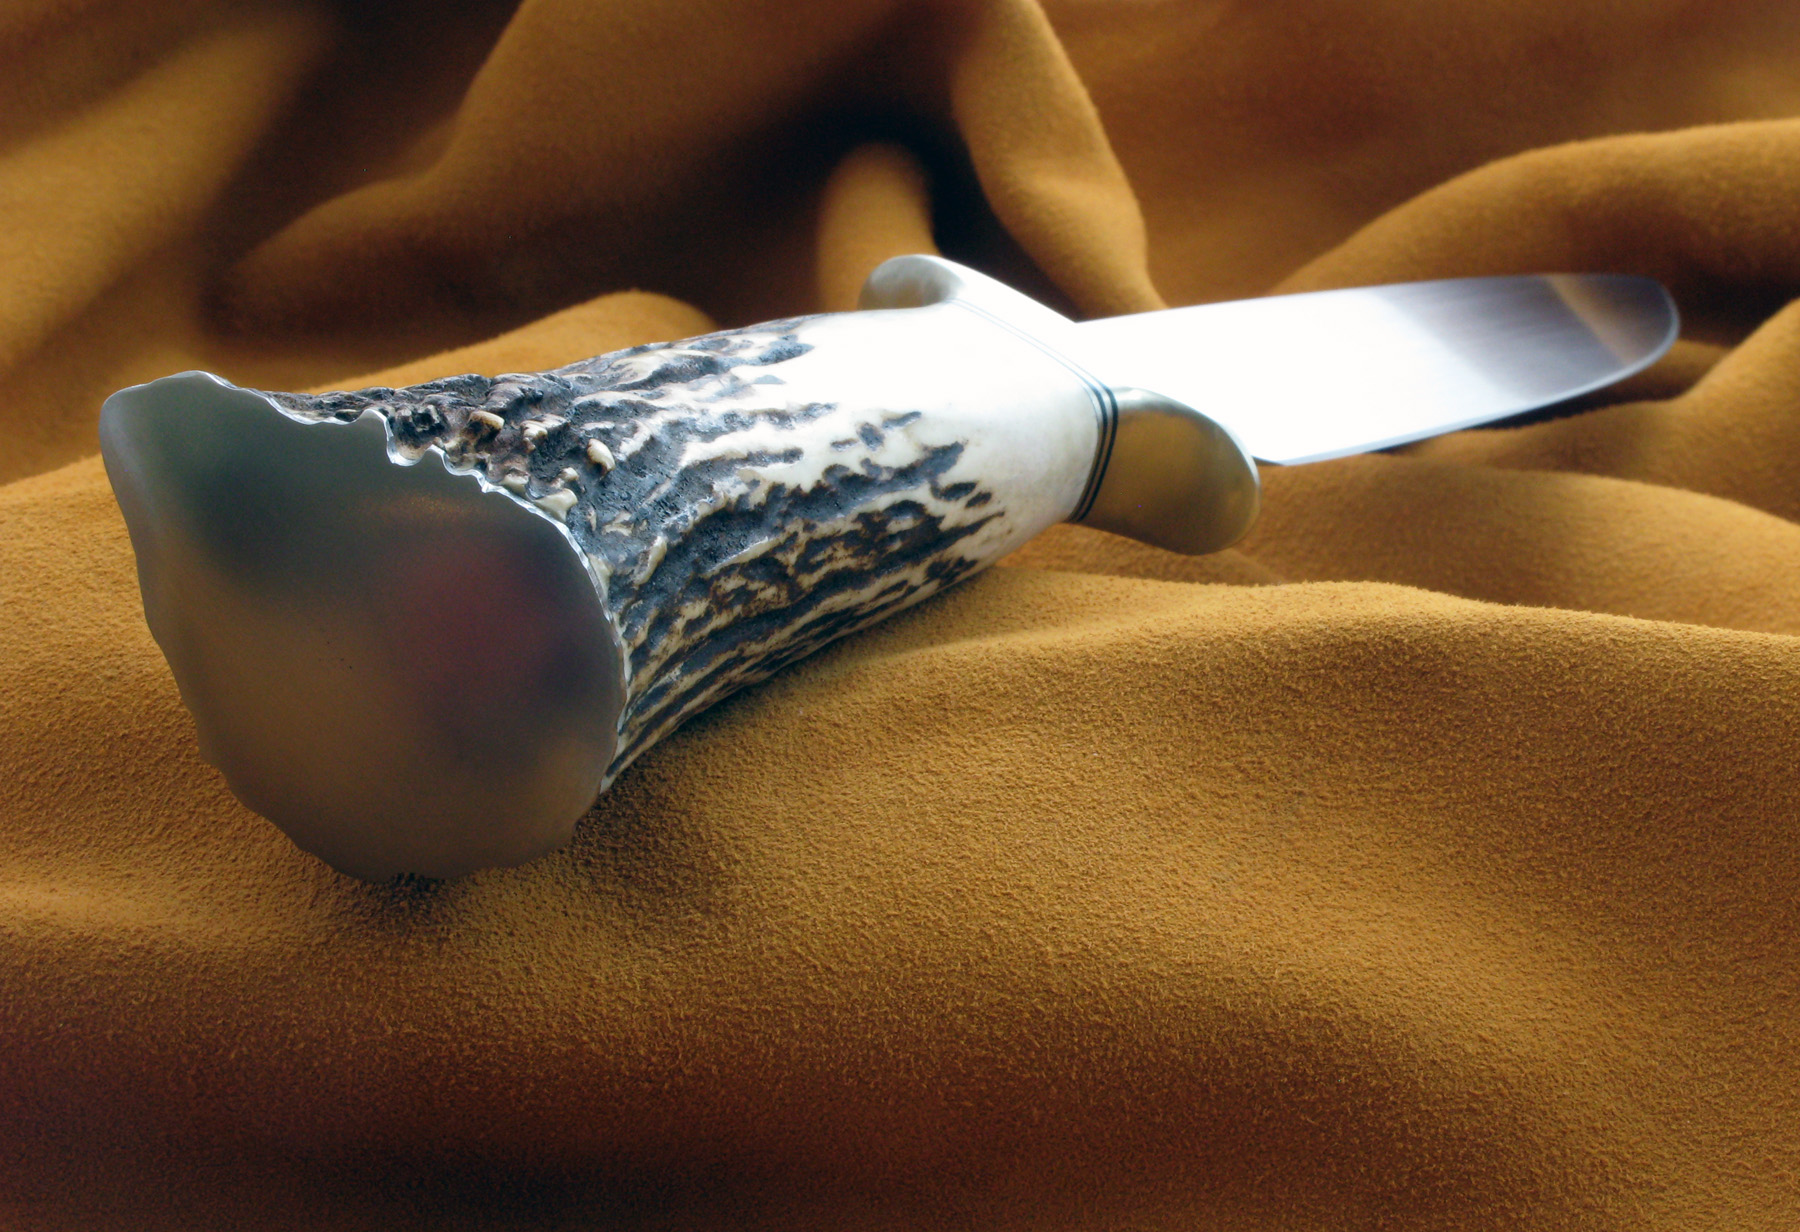
The Finished Knife
This page was last modified on Saturday, 08-Dec-2012 01:19:38 CST |
Send your comments and questions to us:
All Content © 2003 - 2017 LoGiudice Custom Knives. All rights reserved.